Showing posts with label Breakfast / Tiffins. Show all posts

Monday, September 16, 2013

Khara Pongal | Ven Pongal - Step by Step | South Indian Breakfast Recipe | Festival Recipes

Khara pongal

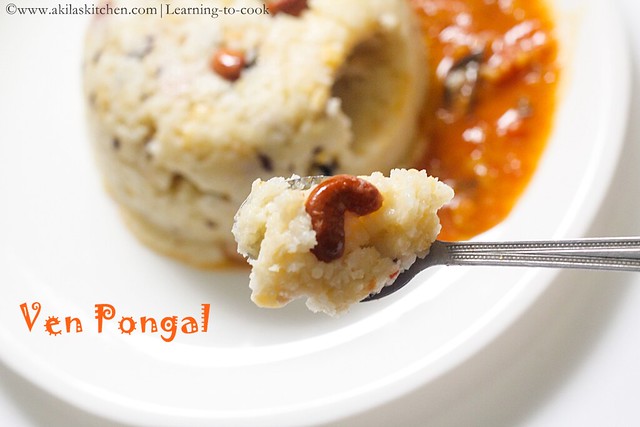
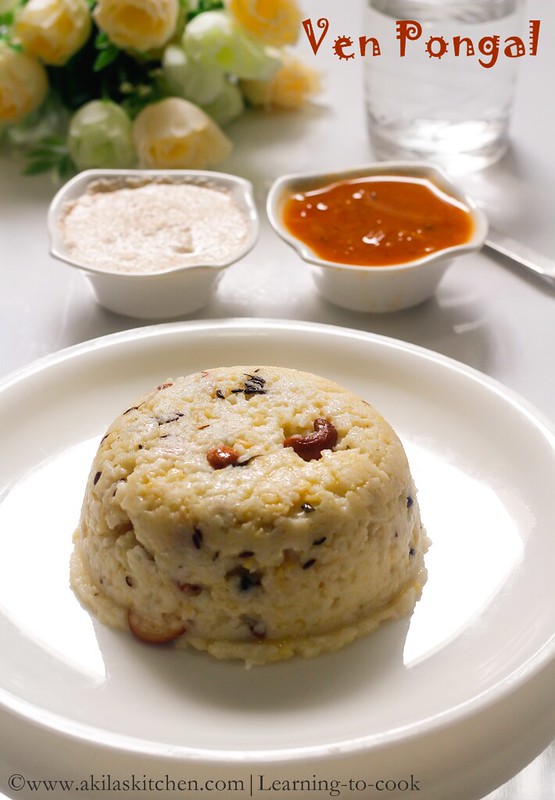
Khara Pongal / Ven pongal is a tasty and filling breakfast in the morning. It is also prepared during festival times. I just love the smell of the thalippu which we do during the pongal. Ven Pongal with medhu vadai is a awesome combination. If I happen to go to hotel in the morning, I always go for pongal with vadai only than any other breakfast. I already posted ven pongal, but this is with step by step pictures and here I am going to cook the dal and rice separately. Lets see how to prepare basic Ven pongal in step by step method.

You can also view some break fast recipes here
Semiya Upma
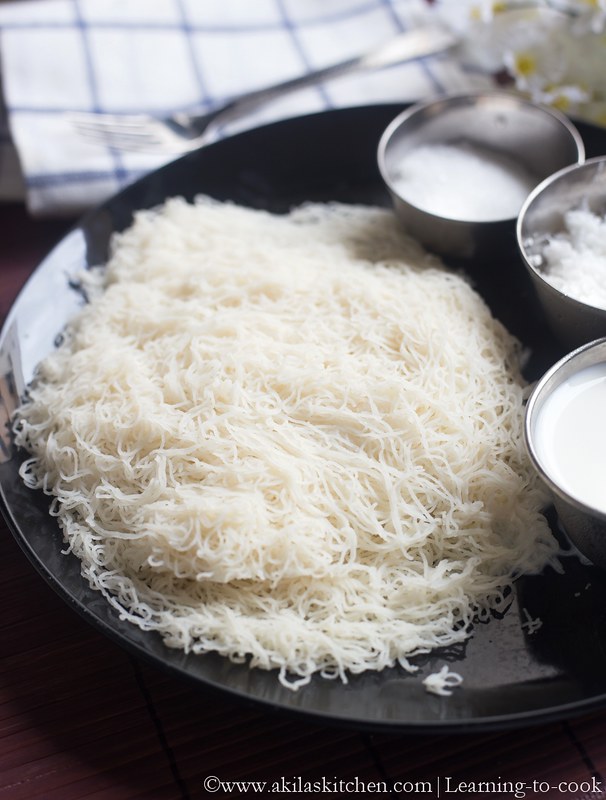
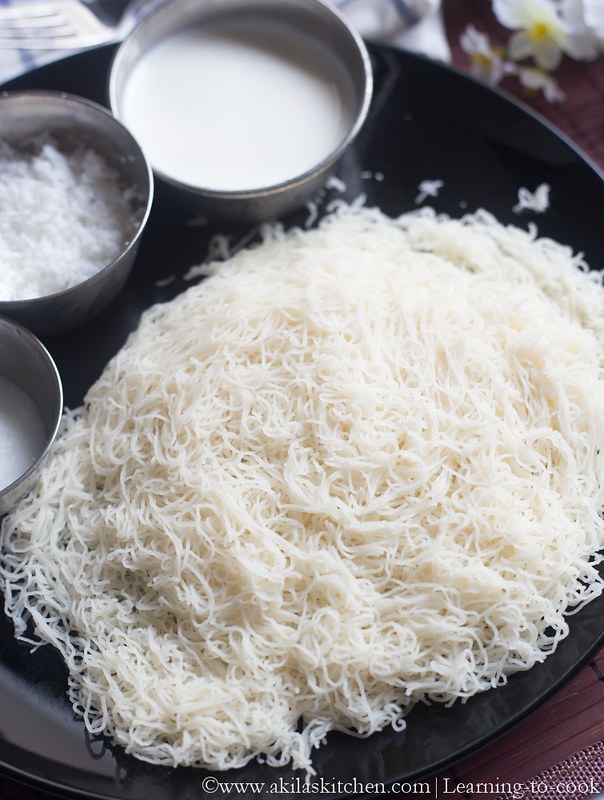
Idiyappam / String hoppers
Coconut Sevai
Simple Poori
Rawa Idli
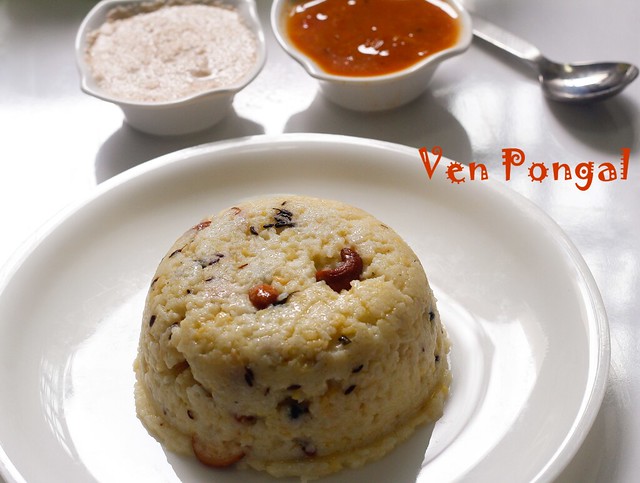
ven pongal recipe

How to make Ven Pongal / Khara Pongal Recipe

Preparation time: 5 min | Cook Time: 15min | Serves:4
Recipe Category: Break fast | Recipe Cuisine: South Indian

Ingredients
  • Raw Rice - 2 cups
  • Paasi Paruppu (Split yellow moong dal) - 1 cup
  • Ghee - 6 to 8 tsp
  • Cumin seeds - 1/2 tsp
  • Black pepper - 1 tsp
  • Ginger - 1 inch (cut into small pieces)
  • Asafoetida - 1/4 tsp
  • Cashews - a 15 to 18
  • Curry leaves - few
  • Salt - as per taste ( I used 3/4 tsp)
  • Water - 6 cups for rice and 2 cups for dal
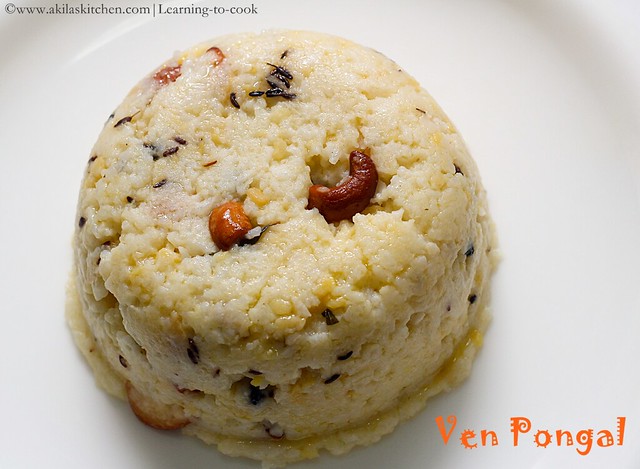
ven pongal

Method

1. Take the 2 cups raw rice and 1 cup dal.
2. Place the rice and dal in the cooker with enough water as mentioned. Here I have kept them separately as shown. You can also add them together. Close the cooker lid and cook for 4 whistles.
3. Now mix the dal and rice together, adding the required salt.
4. In another pan, add the ghee and when it is hot add the cumin seeds, black pepper, curry leaves, ginger, asafoetida, cashews and fry till cashews become golden brown colour.
5. Now transfer this content to the cooked rice and dal and mix well.
6. Add some more ghee if you are not health concerned.
7. Mix well and serve hot with sambar and chutney.


khara pongal

Notes:
1. If you are using dalda, you can add half ghee + half dalda. I used fully ghee only.
2. If the pongal is bit dry, you can add, 3 to 4 tsp, hot water, to make the perfect consistency.
3. If the pongal is watery, you can cook for some more time, till it comes to the correct consistency.
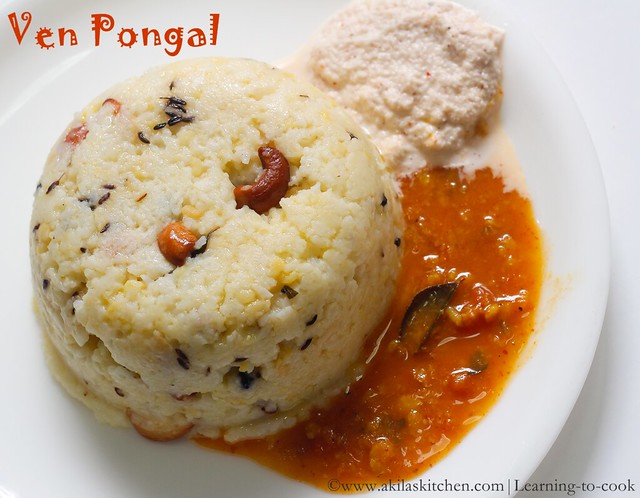
how to make ven pongal

Delicious and tasty ven pongal is ready to be eaten. 

Sunday, August 11, 2013

French Toast | Easy Break fast Recipes | Bread Recipes | Bachelor Recipes

French Toast Recipe

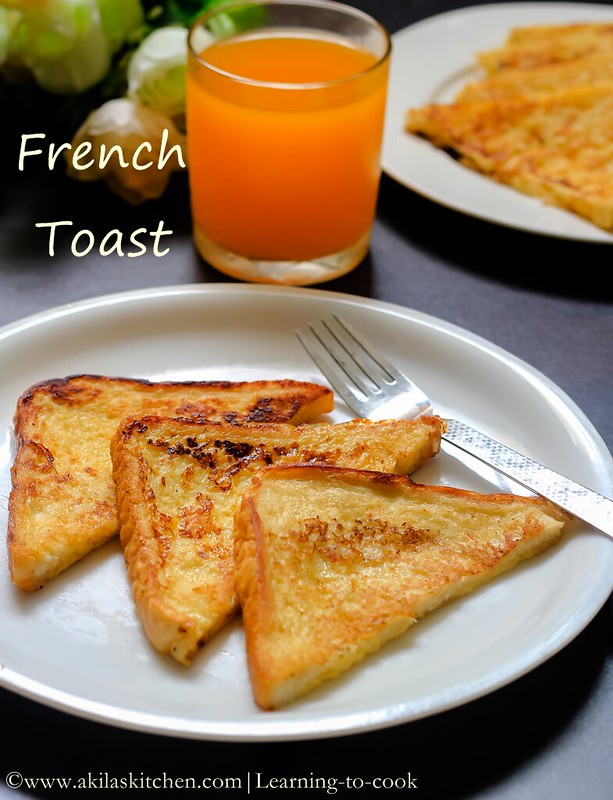
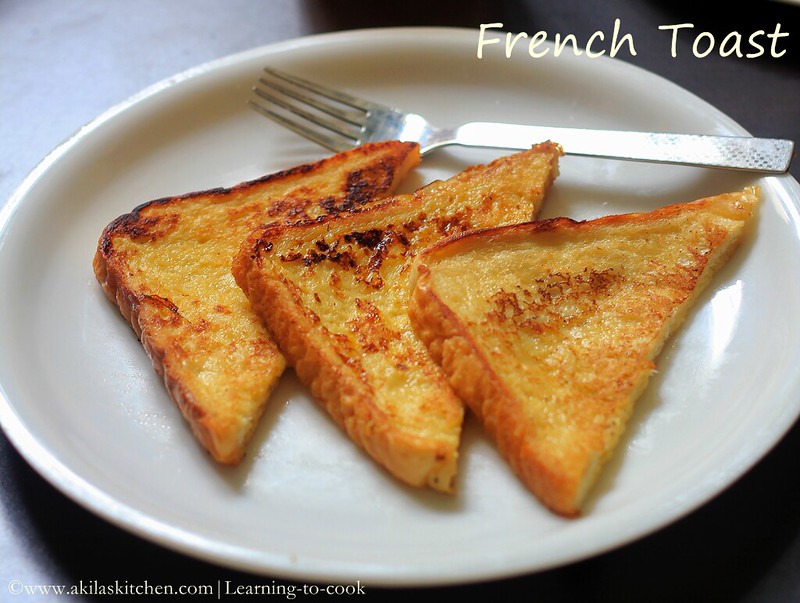
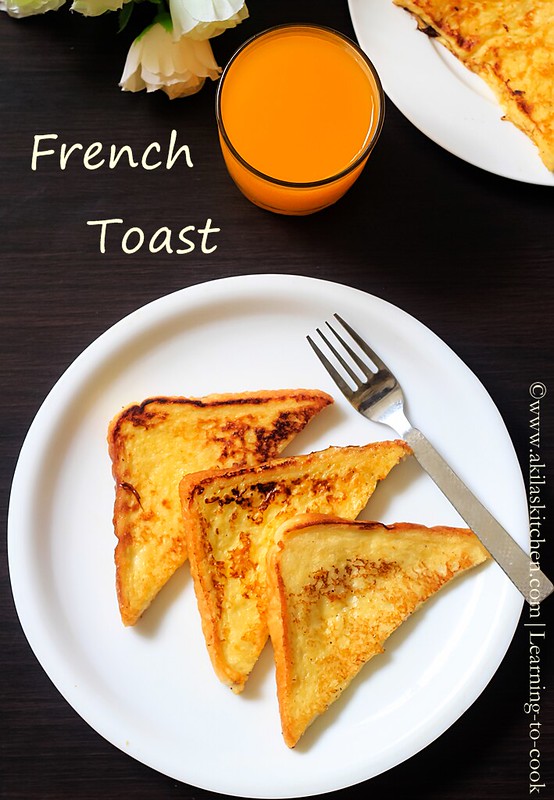
French Toast - I know many people know about this quick and easy break fast. But do you know, when I came to know its name...??? Just last year... you don't believe it right.. but that is the truth... But I was doing this breakfast without knowing its name for many years... yes.. When I am in my college days, I saw the procedure of doing the French Toast in one of the Hollywood movies and from then, I used to prepare this now and then. But I don't know its name. Just last year, in office canteen, I told the recipe to my friend Shilpa and she said, its French Toast. So Funny right... From that time, I am planning to prepare this and post... but now only got the time... We will see the eggless version too soon. But now lets see how to prepare the Basic French Toast...
How to make French Toast

How to make French Toast

Preparation time: 5 min | Cook Time: 03min | Serves:3
Recipe Category: Break fast | Recipe Cuisine: American
Ingredients
  • Bread slices - 6 slices
  • Milk - 1 cup (150 ml)
  • Egg - 1
  • Sugar - 1 tsp (optional)
  • Butter - 1 to 2 tsp
French Toast Indian Style

Method


1. Mix the egg and milk and give a nice stir. Add sugar to this and again give a nice stir.
2. Cut the bread in to triangle (or what ever shape you like) and soak it in the egg-milk mixture just 2 seconds on each side. (Do not soak more than that, as you will get more eggy smell or the bread becomes more mushy).
3. Before soaking the bread, heat the tawa and add little butter. When it is hot, add the soaked bread.
4. Flip the bread on the other side and serve hot with any tomato sauce.

5. Yummy and easy French Toast is ready....

French Toast

Easy breakfast recipe
Yummy and Easy French Toast is ready... 


Monday, July 15, 2013

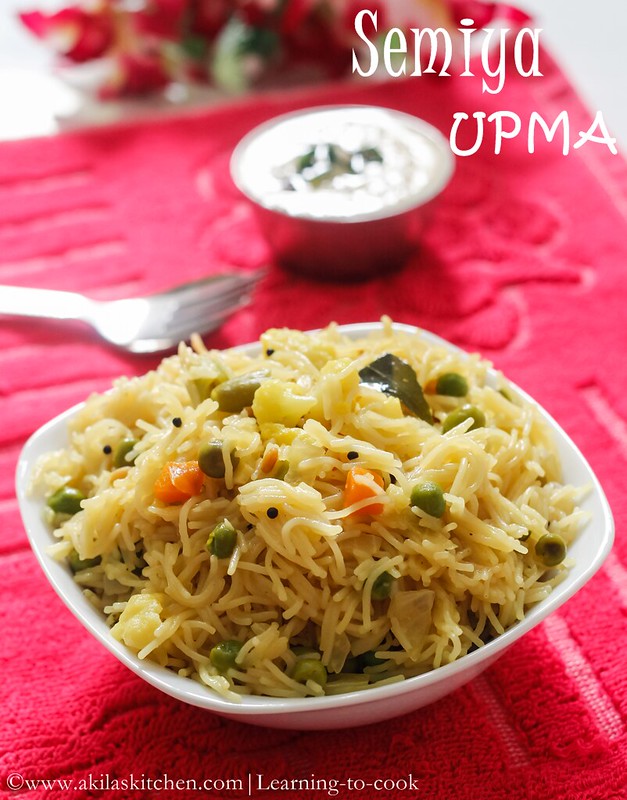
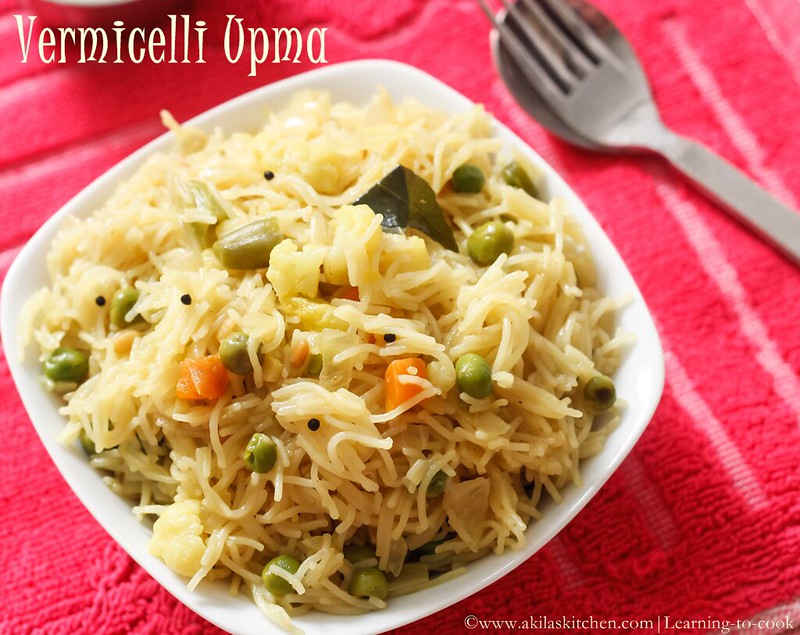
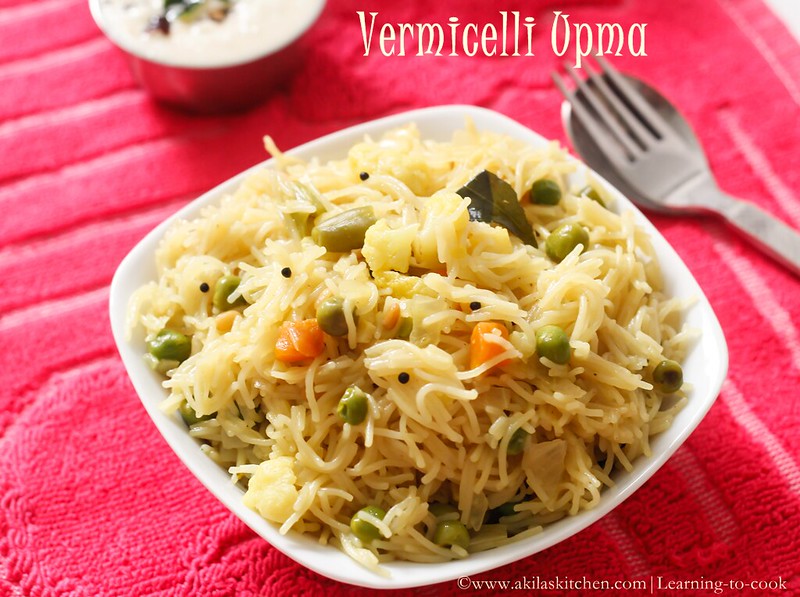
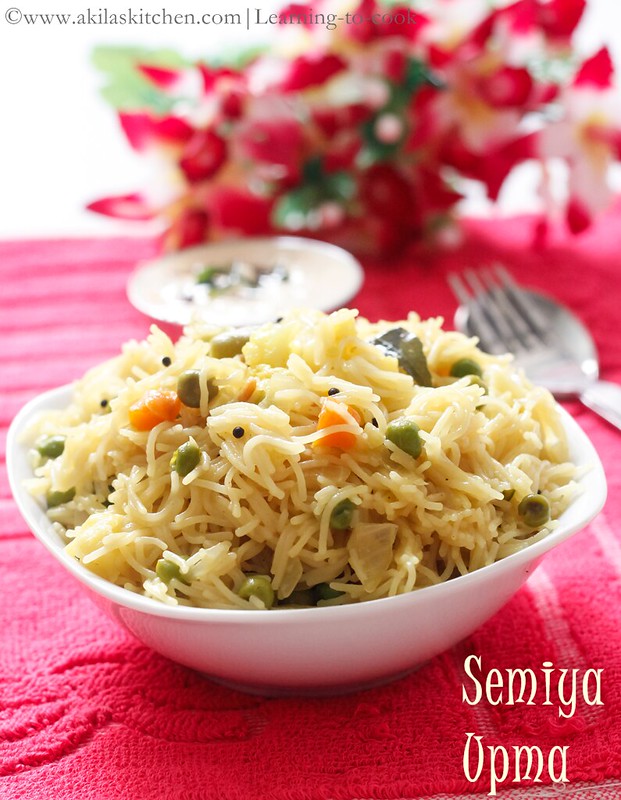
How to make Semiya Upma (Vermicelli Upma) | Breakfast Recipes | Upma Recipes

How to make Semiya Upma

Vegetable Semiya Upma or Vermicelli Upma is one of a popular and easy to do breakfast recipe in TamilNadu, when u got bored of the usual Idli, dosa or pongal. Vermicelli is similar to pasta kind of a dish. During my childhood days I do not eat dishes prepared with Semiya except semiya payasam. My friend compelled me to try when I went to her house and after the taste I started liking it and now it is one of our regular breakfast item. 
How to make Vegetable Semiya Upma

How to make Vegetable Semiya Upma Recipe
Preparation time: 15 min | Cook Time: 10min | Serves:3
Recipe Category: Breakfast | Recipe Cuisine: South Indian

Ingredients 
  • Semiya/vermicelli - 2 cups
  • Water - 4 cups
  • Mixed Veggies - 1 cup ( carrot, beans, cauliflower, peas, potato)
  • Oil - 1 tsp
  • Mustard - 2 pinch
  • Black gram - 1/2 tsp
  • Bengal gram - 1 tsp
  • Green chillies - 2 or 3
  • Onion - 1
  • Garlic - 3 pods (finely chopped)
  • Curry leaves - few
  • Cashews - few ( optional )
  • Ghee - 1 tsp ( optional )

Method
1. Take 2 cups vermicelli.
2. Dry roast the vermicelli till they become nice golden brown. ( you can skip it if your vermicelli is already roasted).
3. Chop the garlic, onions and green chili and the other veggies into fine pieces.
4. In a kadai add oil and throw in the mustard seeds, urad dal, channa dal, chilies and the curry leaves.
5. When the mustard splutter and the dals turn nice golden brown colour, add the garlic and fry for a min.
6. Add the chopped onions and Saute till it turns pink.
7. Add in the veggies now and sauté it.
8. Add the salt and turmeric powder. Mix well.
9. Now add the water and let the veggies get cooked. (3/4th cooked)
10. Now add the roasted vermicelli and give a stir keeping the flame low.
11. Allow to cook.
12. Check whether the upma is ready by taking little vermicelli and slightly smash by fingers and if they broken, it means it is cooked.  Switch off the flame.
13. Add ghee and give a light stir.
14. Serve hot with any chutney or pickle.
How to make Vermicelli Upma

15. We had it with pottukadalai chutney. 
How to make Vegetable Vermicelli Upma

Note:
  1. You can add any veggies of your choice. 
  2. If you like you can roast few cashews in ghee and add it to make it rich. 
  3. Adding ghee is optional, but it tastes great when added. 
You can check other upma recipes below
Idli Upma
Aval Upma
Vegetable Rice Sevai Upma
Crab upma

Friday, March 22, 2013

Idiyappam / String Hoppers with Potato Kurma


Idiyappam

Idiyappam or String Hoppers is one of my favorite dish, But, In our house, we do not make this often, as my mom was also working, she never find time for it. But next to our house, one grandma, used to sell this. So my mom used to buy this from her. I do not know how they will make it, but it was the soft and yummy and tasty idiyappams I have ever tasted. After coming here, my hubby used to get the ready made idiyappams as I do not know how to make it. But I want to try this for myself so that I can have my own fresh idiyappams. So last december when I went India, I bought the Sevei press/Idiyappam maker (Called Sevai Nazhi) the one, which is used to make the idiyappams.

My first experience in making idiyappams was really very tough. After 3rd idiyappam, I could not press the sevai at all. My hands were paining so much. I was thinking, why it is so hard to press, though I used to remove and clean the dough from the sevai each time. I actually called my hubby to press and give it for me. You know what happened, he too, could not press it, the dough has become so tight. Then my idiyappam flour, finally turned to kozhukattai. I lost my hope of making it. Three weeks later, I got store bought idiyappam flour and I wanted to give a try again. This time, instead of adding the full flour, I added 1/2 cup flour and added 1.5 cup water and water and started pressing idiyappams when the dough is still hot and to my surprise, it came out so easily. I was so happy. I repeated the same and I find this way to be very easy. I had it with kurma. So, for the beginners like me, you can follow this method. Ok, now lets go to the idiyappam recipe.


You can check how to prepare the other idiyappam below
Ragi idiyappam
Tomato Idiyappam

Idiyappam

Idiyappam Recipe

Preparation time: 15 min | Cook Time: 10 min | Serves: 4
Recipe Category: Breakfast | Recipe Cuisine: South Indian


Ingredients

Raw rice flour/Idiyappam flour - 2 cup
Boiling water - 4 cups or as needed
Salt - as per taste
Oil - 1 to 2 tsp
Idiyappam

Method to Prepare Idiyappam

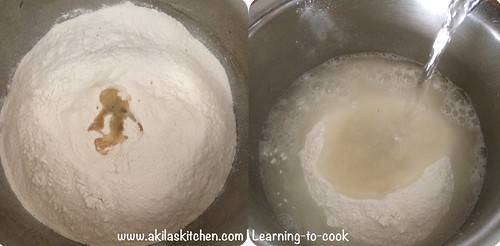
1. In a bowl add the rice flour, salt, oil and add the boiling water little by little and start mixing it so that the flour gets cooked and comes to a pliable dough.
Idiyappam


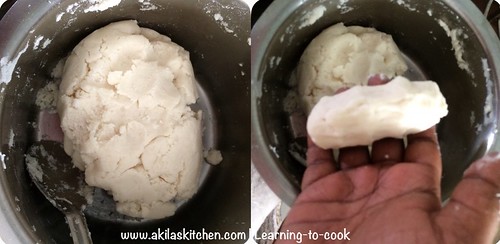
2. The dough should be soft and not to be watery. (When you try to make it to a shape, you should able to do it easily without any problem). Make the dough in to oval shapped balls, and fill 3/4 in the idiyappam maker

Idiyappam

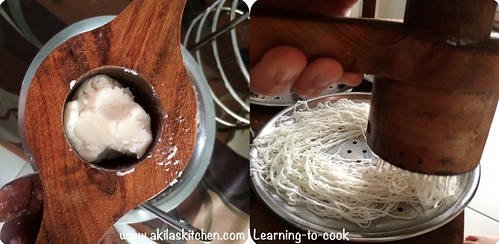
3. Now grease the idiyappam plates with little oil and press the idiyappam maker slowly in circular motion.
Idiyappam

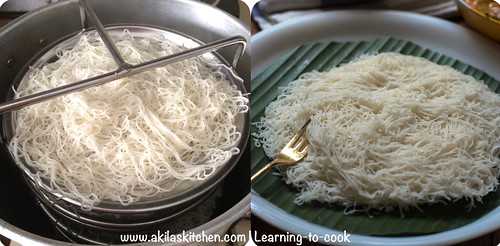
4. Now keep the plates inside the idiyappam cooker or idli cooker and  steam cook the plates as you cook for making idli's. After 8 to 10 minutes, reduce the flame and slight touch your idiyappam to check if it is cooked (The dough should not stick in your fingers).

Idiyappam


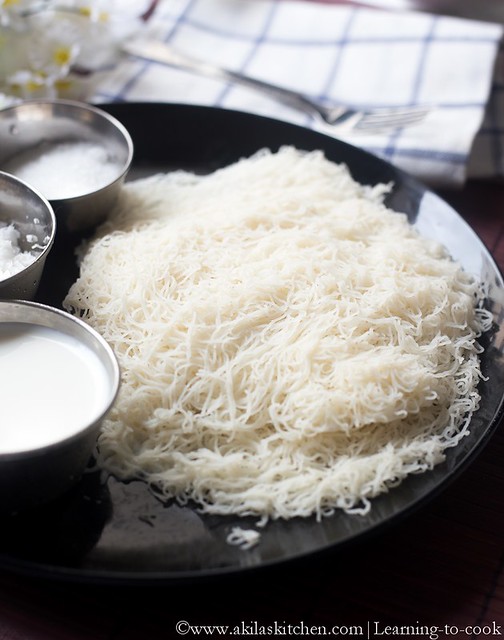
5. Tasty idiyappam is ready.

Idiyappam

My old photo
Idiyappam

Notes:
  • If using Idiyappam flour, check for the salt first. If you really need the salt, then add it.
  • Before steam cooking, you can sprinkle the grated coconut, sugar and little cardamon powder, to make the idiyappams more flavor. As my family members, like to have it with kurma, I did it with potato kurma normally. 
  • You can also use the idli plates or the plate which contains holes, so that, the idiyappams can be steam cooked. 

Related Posts with Thumbnails

My Wonderful Followers

Ads

Add to the circles

Learning-to-cook   © 2008-2015. Template Recipes by Emporium Digital

TOP  

//