Friday, January 30, 2015

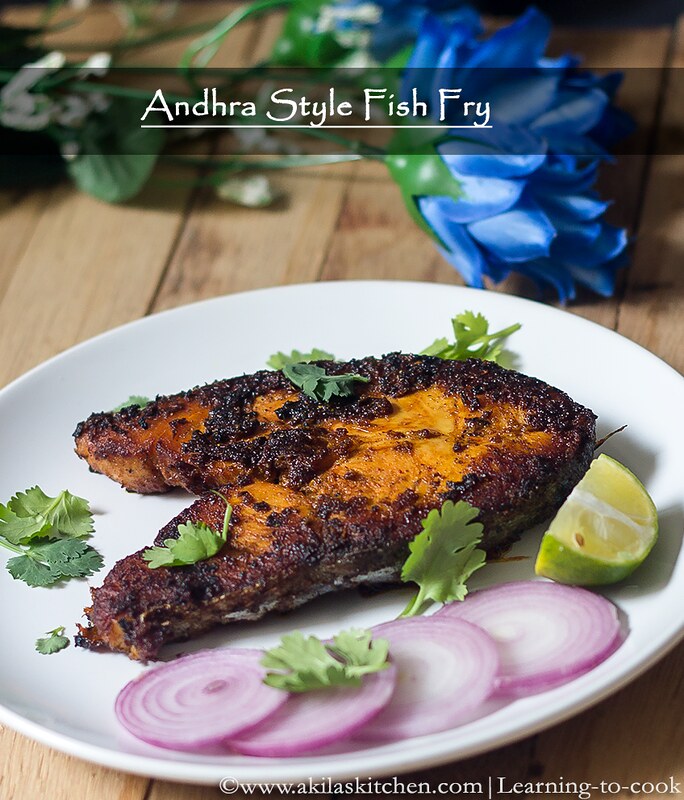
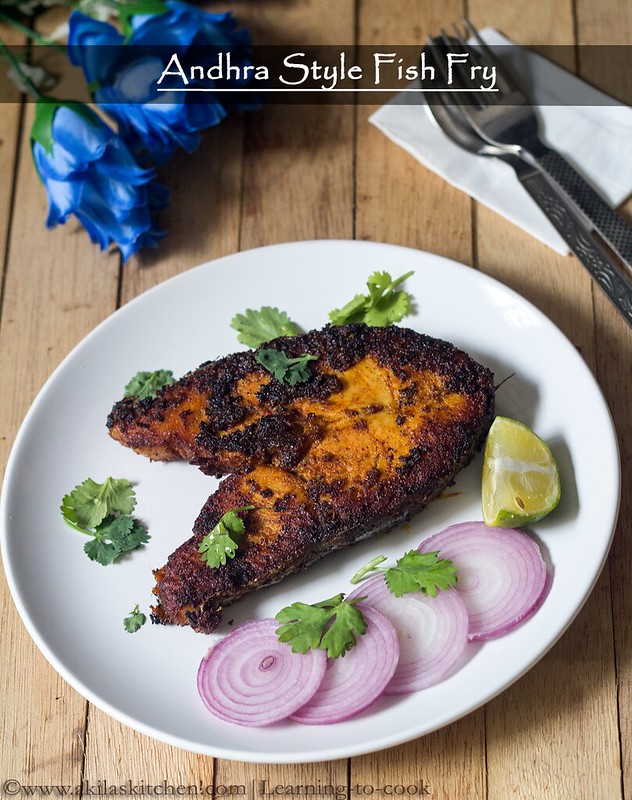
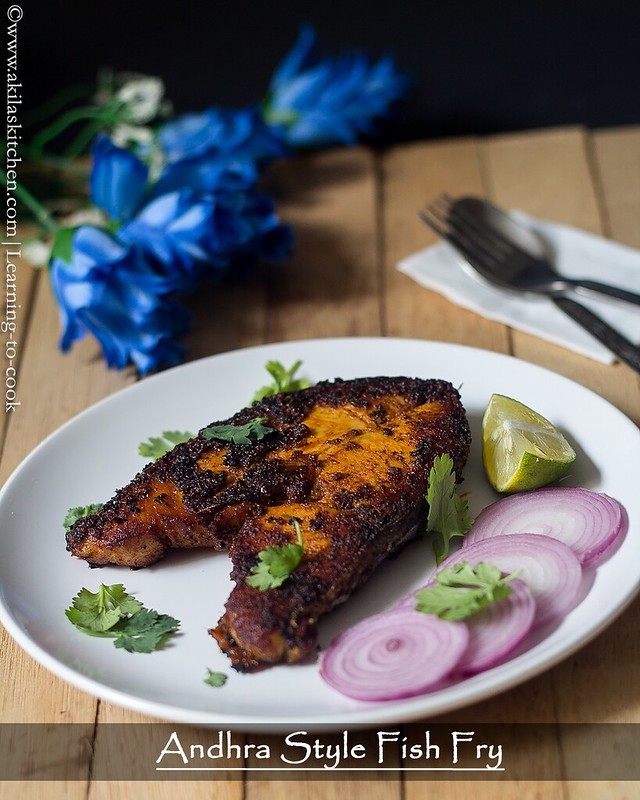
Andhra style Fish Fry | South Indian Fish Fry recipes | Easy fish fry recipes | King fish fry in Andhra style


fish fry recipe

As I told in my post Kerala style fish fry, now a days I try the fish fry differently and I tried this Andhra style fish fry recipe which I got from here with slight variation as suggested by my friend. It is simple yet very tasty and spicy too. I have also tried the Masala fish fry recipe which is our Tamil Nadu style. If you are a fish lover, do try these different fish fry recipes and enjoy your lunch. You can view the list of fish recipes here.

Some fish fry recipes for you to look
Masala fish fry recipe
Kerala style Pomfret fry
Anchovies dry fish fry
Anchovies fish fry (Nethili meen varuval)
Simple fish fry


andhra fish fry

Andhra style fish fry recipe

Preparation time: 10 min | Cook Time: 20 min
Total Time: 30 min | Serves: 4
Recipe Category: Side dish | Recipe Cuisine: South Indian

Ingredients
Fish pieces - 4
Ginger paste - 1 tsp
Garlic paste - 1 tsp
Red chilli powder - 1.5 tsp
Coriander powder - 1.5 tsp
Garam masala - 3/4 tsp
Turmeric - 1/4 tsp
Cumin powder - 1/4 tsp
Lemon juice - 1 tsp
Salt - as needed (i used 1/2 tsp)
Oil for frying


Method
1. Clean the fish with salt and keep ready. Take all the ingredients except fish and oil and make a paste.


2. Now Marinate the fish pieces with the paste.


3. Now with the help of a fork or a tooth stick, start pricking so that the masala goes inside the fish pieces. Keep the marinated fish in fridge for an hour or 2 hr outside.


4. Now heat the oil in medium flame and start frying the fish on both sides. When they become brown colour, switch off the flame.


5. Serve the spicy Andhra fish fry with plain rice or any dish. 

easy fish fry

Notes:
1. This is a spicy fish fry, so if you do not want to be very spicy, reduce the amount mentioned in the ingredients to half and try.


Tags: , , , , , , , , , , , , , , , ,

Tuesday, January 27, 2015

Eggless chocolate ice cream with out icecream maker | Easy ice cream recipes | Summer Special Recipes


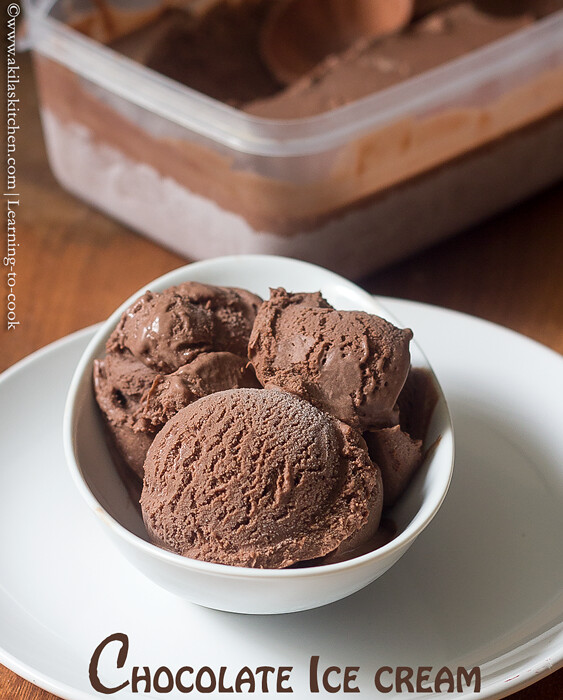
how to make chocolate icecream

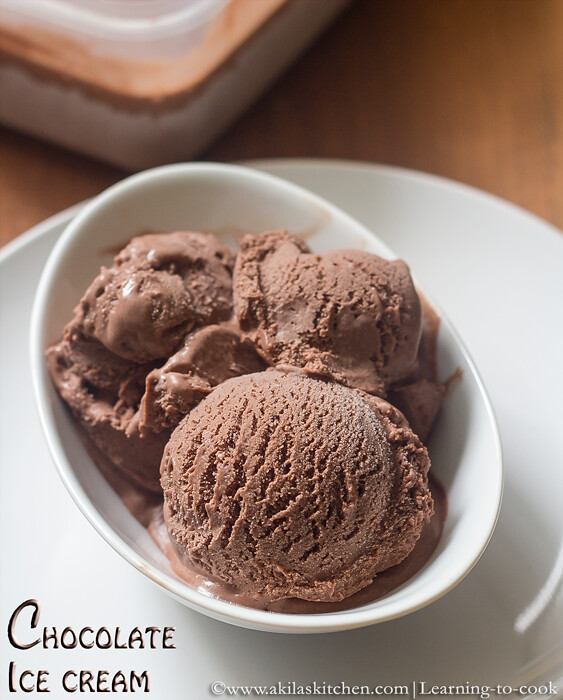
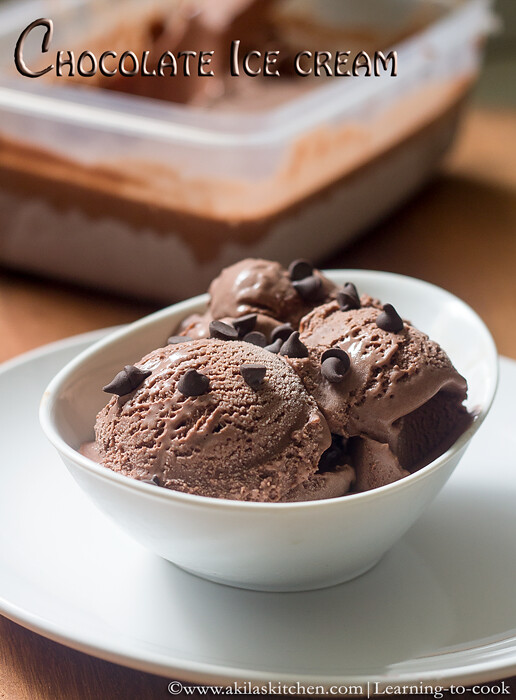
After the successful making of mango ice cream and strawberry ice cream, I tried the chocolate ice cream, which is my sons favorite. This also came as good as the other two. I topped it with Choco chips and it tastes absolutely delicious. While making the ice cream itself my son was with a tablespoon and eating it now and then and kept asking me when I will give him fully. Ha ha ha.. He is so curious.

Other ice cream recipes for you to view
Rose milk ice cream
Falooda
Almond ice cream
Fruit Salad with Ice cream
Strawberry Ice cream
Mango Ice cream

chocolate ice cream

Chocolate Ice cream Recipe

Preparation time: 08 min | Freezing Time: 8 hrs | Serves: 6
Recipe Category: Dessert | Recipe Cuisine: International


Ingredients
Full cream milk - 1/2 cup
Whipping cream (containing milk fat with 35% fat) - 2 cups ( 400 ml or 2 packs) (check my mango ice cream for the whipping cream which i used)
Cocoa powder - 1/4 cup ( I used Hershey's)
Sugar - 1/4 cup
Brown sugar - 1/2 cup
Salt - a pinch
Choco chips for topping the ice cream (optional)

Eggless chocolate ice cream

Method
1. Whip the whipping cream in low speed just for 2 to 3 min and keep aside.
2. Mix the brown sugar, sugar, salt and cocoa powder nicely and add the full cream milk and mix thoroughly, till the sugar gets dissolved.
3. Add this mixture to the whipping cream.
4. Again whip it in low speed for 1 more minute. Transfer it to the freezer safe bowl.
5. Let it freeze for 3 hrs at first. Take the mixture out and again crush or blend the formed ice. Again freeze for 2 hrs. Again blend it. Repeat it for 3 times atleast. After that allow it to freeze overnight or atleast 6 hrs.
6. Serve it with choco chips.
eggless chocolate ice cream

Notes:
1. Always try to use the brown sugar for this ice cream, as it enhances the taste. If you dont find brown sugar, then substitute with normal sugar.
2. Crushing the ice after freezing, give the ice cream, a creamy texture.

Tags: , , , , , , , .


Friday, January 23, 2015

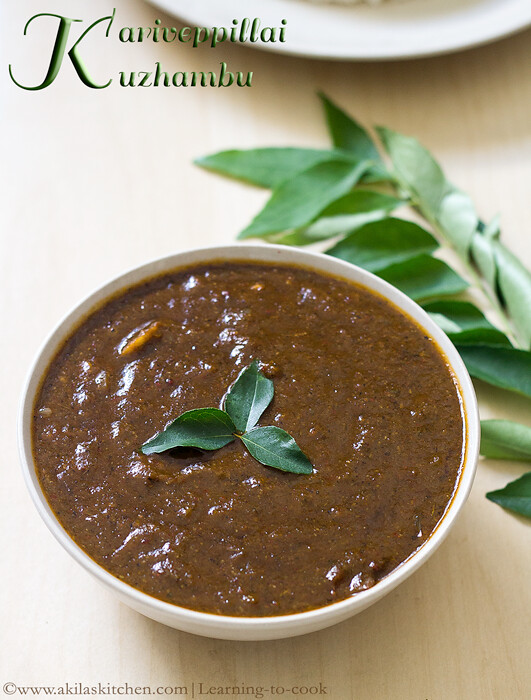
Karuveppilai kuzhambu | Curry leaves Kuzhambu | Kariveppilai Kuzhambu | South Indian Curry Leaves Gravy | Kuzhambu Recipes

Karuveppillai kuzhambu

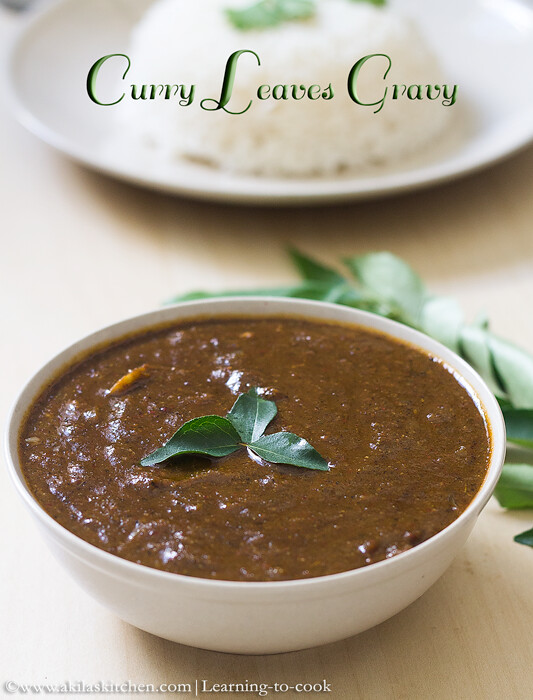
Karuveppilai kuzhambu or curry leaves gravy is a delicious and healthy kuzhambu. It has so many health benefits. My grandma says it is very good for the hair growth. This kuzhambu can be made in bulk and stored in fridge for at least a week. Also there are so many variations for this kuzhambu and after trying out few, I sticked on to this as I loved this method and it's so easy also. Let's see the preparation of the karuveppillai kuzhambu.

You can also view other kuzhambu recipes below

curry leaves gravy

Karuveppilai Kuzhambu

Recipe Category: Lunch | Recipe Cuisine: South Indian
Preparation time: 10 min | Cook Time: 25 min | Serves: 4

Ingredients 
I - for curry/gravy
Tamarind - 1 small lemon sized
Shallots / Small onions - 10 nos (chopped finely)
Garlic cloves - 10 - 12
Turmeric powder - 2 pinch
Chilli powder - 1/2 tsp
Coriander powder - 1/2 tsp
Salt - as per taste
Jaggery - small piece (as shown in picture)
Gingely Oil - 1 tbsp


II - To grind to coarse paste
Curry leaves - 1/2 cup (tightly packed)
Gingely oil - 1 tbsp
Fenugreek seeds - 1/2 tsp
Urud dal - 1 tsp
Channa dal - 1 tsp
Toor dal - 1.5 tsp
Cumin seeds - 1/2 tsp
Black pepper - 1/4 tsp
Red chilli - 2


Curry leaves gravy

Method 
1. Soak the tamarind with hot water for 10 min and make a paste as below.

2. Take the ingredients mentioned in list II except curry leaves and fry them till slight brown.

3. Wash the curry leaves nicely and add to the pan.
4. Transfer the fried content to the food processor and add little water and make a paste (it is better to be a coarse paste).
5. Now in the same pan, add the oil and saute the onions and garlic nicely. Add the coarse paste to this.
6. Allow to boil and add the tamarind paste now.
7. Add the coriander powder, chilli and turmeric powder and allow to boil again.
8. Let it boil for 10-12 min and the jaggery and mix well.
9. Let the jaggery gets dissolved well.

10. Serve the tasty and yummy kuveppillai kuzhambu with plain rice.
curry leaves curry


Notes:
1. Always use fresh curry leaves for this kuzhambu.
2. There should not be any raw curry leaves smell, so boil the kuzhambu nicely by adding enough water.
3. If you have sambar powder, use it instead of coriander powder and chilli powder.
4. This kuzhambu can be kept for 4 to 5 days in fridge.

Tags: , , , , , , , , , , , , , , , , , ,

Related Posts with Thumbnails

My Wonderful Followers

Ads

Add to the circles

Learning-to-cook   © 2008-2015. Template Recipes by Emporium Digital

TOP  

//