Showing posts with label Festival Special Recipes. Show all posts

Monday, March 28, 2016

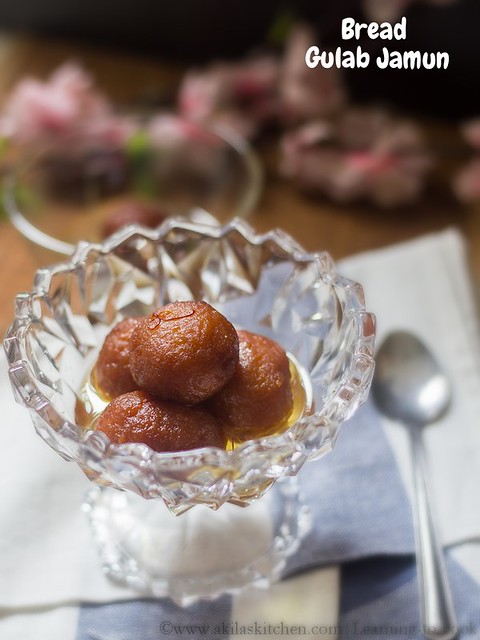
Bread Gulab Jamun | Gulab Jamun Recipe


Bread Gulab Jamun


I have not tried the Bread Gulab Jamun before and never expected this to be such an easy alternative to the original Gulab Jamun recipe. Even my mom is new to this and she also surprised by the result. I can definitely say, if you are a Gulab jamun fan, then this Bread Gulab Jamun is also a must try one. 

Some other Sweet Recipes for you to check
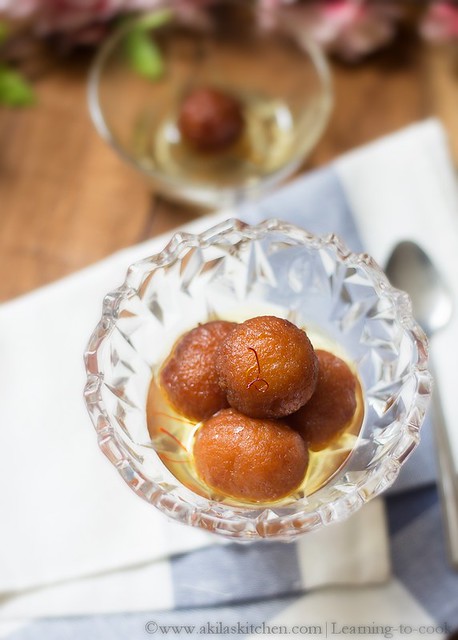
Bread Gulab Jamun

Bread Gulab Jamun

Preparation time: 20 min | Cook Time: 20 min | Serves: 5
Recipe Category: Dessert | Recipe Cuisine: Indian


Ingredients
Bread - 8 pieces
Milk powder - 2 tbsp
Water - as needed
Baking Soda - a pinch
Oil for frying

For Sugar Syrup
Sugar - 1.5cups
Water - 2.5cups
Cardamom powder - 2 pinch
Saffron - few strands
Ghee - 1tbsp


Method to prepare Bread Gulab Jamun

1. Remove the sides of the bread and make them to small pieces. 
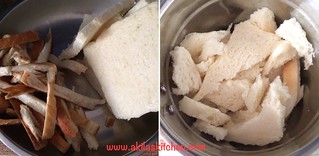

2. Grind them nicely to a powder form and add the milk powder and the baking soda. 
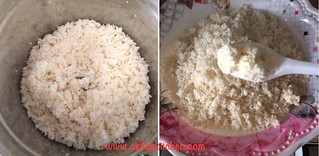

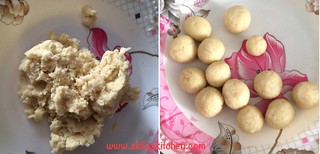
3. Add little amount of water and smash it to form a soft dough. Make them into equal sized balls ( small lemon size ). Let it rest for sometime. 

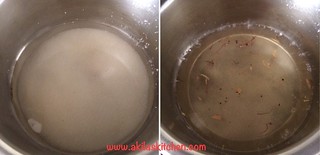
4. Meanwhile, add sugar in a vessel and add water. When sugar starts to dissolve, add the saffron, cardamom powder and the ghee. 

5. Now heat the oil and add the balls one by one. Keep the flame in low and Keep rotating the balls for smooth browning on all sides. When they become light brown colour. Remove from oil. 
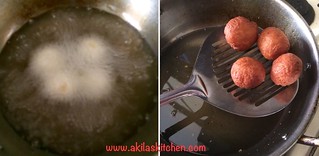

6. Place them in the hot sugar syrup and leave it for 15min for the balls to absorb sugar syrup. 
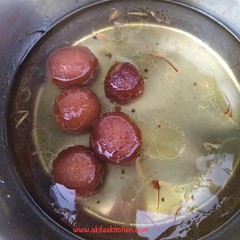

7. Tasty and delicious Bread Gulab Jamuns are ready to be served.
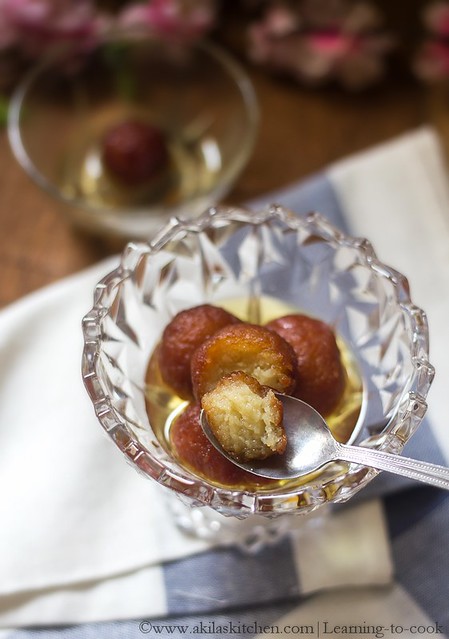
Bread Gulab Jamun


So who wants this easy to prepare and yummy Bread Gulab Jamun
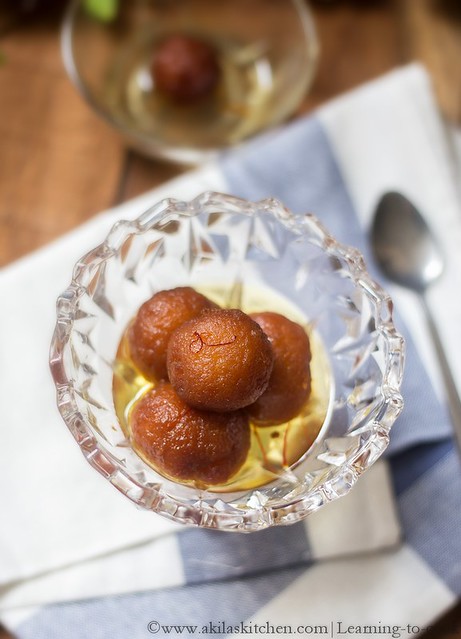
Bread Gulab Jamun

Notes:
1. I used milk bread for this. You can use any bread, but try to use unsalted one.
2. Roll the balls smoothly and not too tight. Because, while frying, the inner part might not cook properly, if you roll them tightly.
3. Keep the flame in low, while frying the balls for even cooking and keep rolling the balls.
4. Adding milk powder and cooking soda are purely optional.
Sunday, March 20, 2016

Rava Payasam | Sooji Kheer | Semolina Kheer


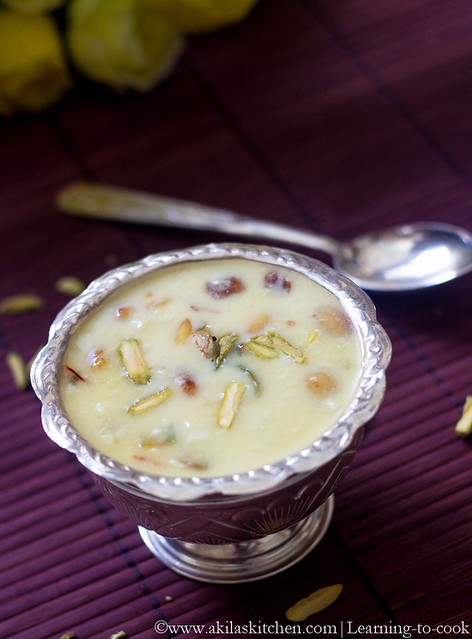
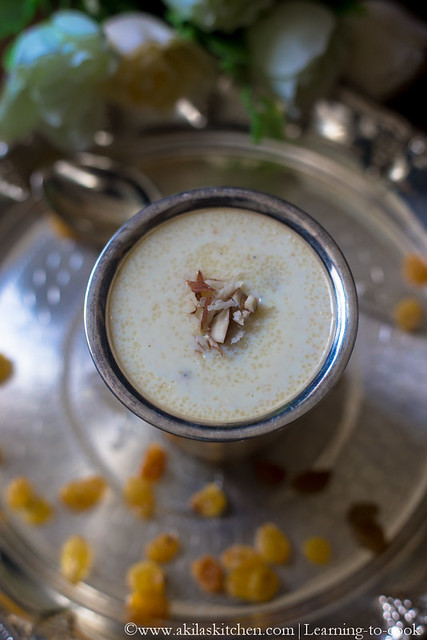
rava payasam

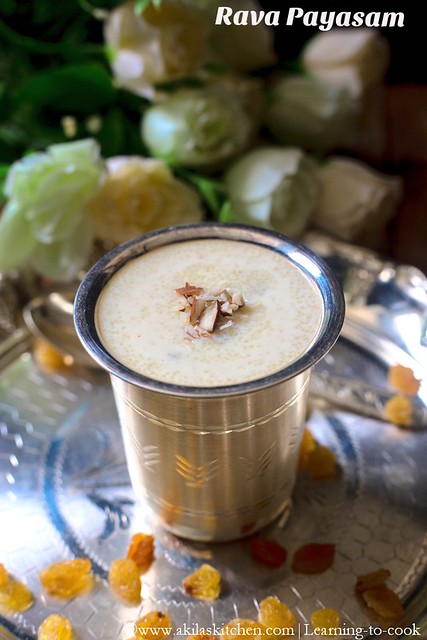
Rava Payasam or sooji kheer is one of the easiest payasam which you can make when you have sudden guests at home. I feel anything with rava makes life easier when we are not prepared what to cook or feel lazy to prepare 😜. I wanted to click some sweet recipe with my new camera and I was thinking so many recipes and finally end up with this easy dessert Rava Payasam.

You can view some of the delicious Payasam / Kheer recipe from the below links...
Carrot Kheer
Javvarisi Payasam
Semiya Payasam
Paneer Kheer
Pasta Payasam
Quinoa Payasam
Mango Payasam


So let's go to the easy Rava Payasam Recipe. 


sooji kheer

Rava Payasam Recipe

Preparation time: 5 min | Cook Time: 10 min | Serves: 4
Recipe Category: Dessert | Recipe Cuisine: South Indian


Ingredients
Semolina / Rava - half cup
Full cream milk - 2 cups
Water - 1 cup
Sugar - 3/4 cup ( can increase or decrease according to your tastebuds )
Ghee - 2 tsp
Cashew nuts - few
Raisins - few 
Cardamom - 2 (crushed nicely or 2 pinch of cardamom powder) 
Saffron - a pinch to give nice colour (optional)


Method 

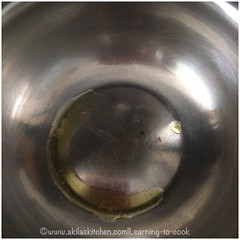
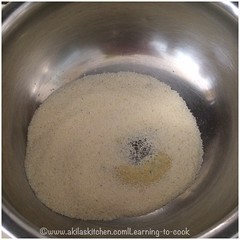
1. In a large pan, add 1 tsp ghee and when slight hot, add the rava.


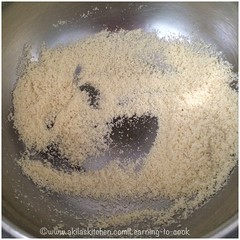
2. Start frying the rava ( 3 to 4 min in low flame ) and keep it aside. (Do not over fry, as it may turn the rava to brown colour and payasam does not look good ).


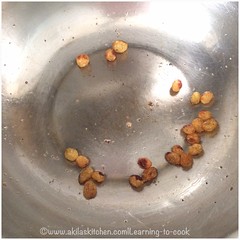
3. In the same pan add the remaining ghee and start frying the cashews and the raisins separately and keep them aside. 


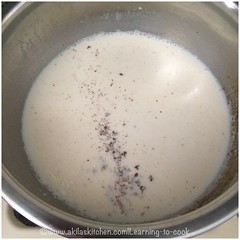
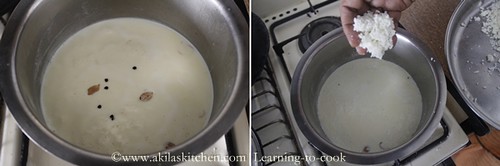
4. In the same pan, add the milk and boil it. Meanwhile, crush some cardamom and add to it.


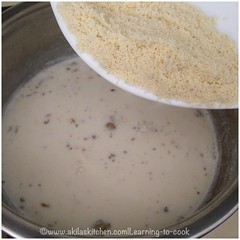
5. Make the flame to low and add the roasted rava little by little.


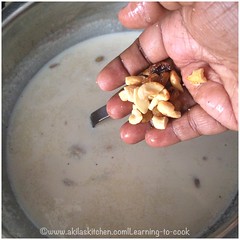
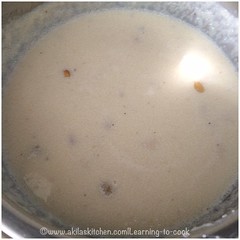
6. Rava starts to cook and the payasam / kheer starts thickening. If you want, you could add some water or milk, at this stage. Now add the fried cashes and raisins.


7. Allow the payasam to boil for a min and switch off the stove.


8. Delicious and easy Rava Payasam is ready to  be served.

Rava Kheer


Notes:
1. Rava Payasam tends to thicken, when it cools down, so you can add some milk to make it to thin consistency.
2. Instead of milk, you can add condensed milk and make it rich. But reduce the sugar quantity, accordingly.

Saturday, June 6, 2015

Paneer Payasam | How to make Paneer Kheer | Paneer Recipes | Payasam Recipes

paneer kheer


Paneer Payasam aka Paneer Kheer is a delicious kheer recipe which tastes similar to Basandhi. This is a quickest recipe which can be made within 10 min, if all the ingredients are in hand. Now let's see how to prepare this Paneer Kheer. I also have so many recipes made of paneer like paneer side dishes, paneer desserts in this blog. Check it here

Other Kheer recipes for you to view

How to make Paneer Payasam | Paneer Kheer

Preparation time: 5 min | Cook Time: 10 min | Serves: 4
Recipe Category: Dessert | Recipe Cuisine: North Indian

Ingredients 
Grated Paneer - 1.5 cup
Milk - 2.5 cups
Condensed milk - 1 cup (optional)
Sugar - as needed
Raisins - 2 tsp
Cashews - few
Pista - few
Ghee - 2 tsp
Salt - a pinch
Saffron strands - a pinch
Cardamom - 2 crushed

Method

1. Grate the Panner and keep it ready. Fry the nuts and raisins adding 1 tsp ghee in a small pan and keep it aside.

2. In a wide vessel, add the milk and start boiling it. Let it reduce to atleast 3/4 in quantity. You can add condensed milk at this stage. Add the saffron strands. 

3. Crush some cardamom seeds and add to the milk. When the milk is boiling, add the panner and allow to boil for 5 min. Add a pinch of salt. 

4. Add the fried nuts and raisins. Switch off the stove.

5. Garnish with remaining nuts and Serve it hot or cold.
paneer payasam

Yummy, easy and tasty paneer payasam is ready to be served.

Notes:
1. Adding condensed milk is optional, but it makes the payasam richer in taste.
2. When adding sweetened condensed milk, reduce the sugar, accordingly.
3. Adding pinch of salt to payasam always makes the kheer, more tastier. 
4. Saffron strands can be soaked in separate milk and you can add that milk also. 


Thursday, September 26, 2013

Ring Murukku | Chekodi | Chegodilu | How to make ring murukku | Diwali Snacks | Murukku recipes

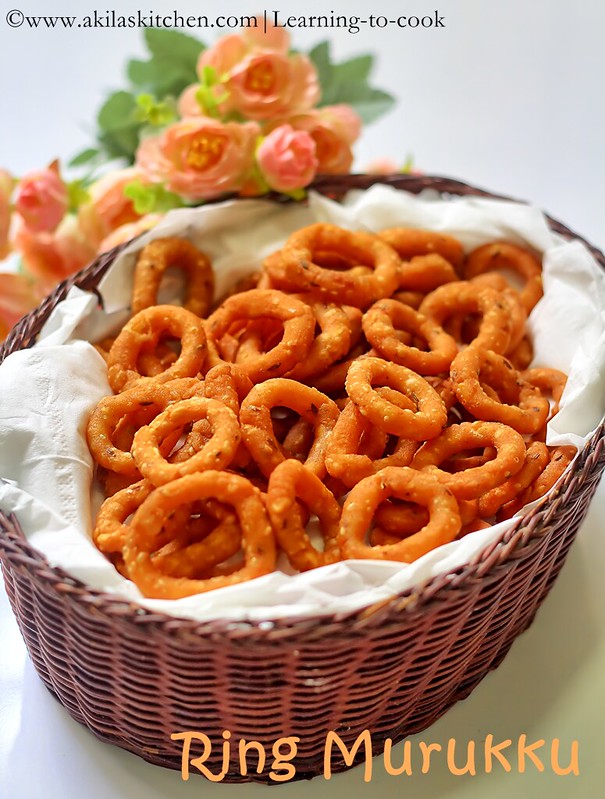
Chekodi

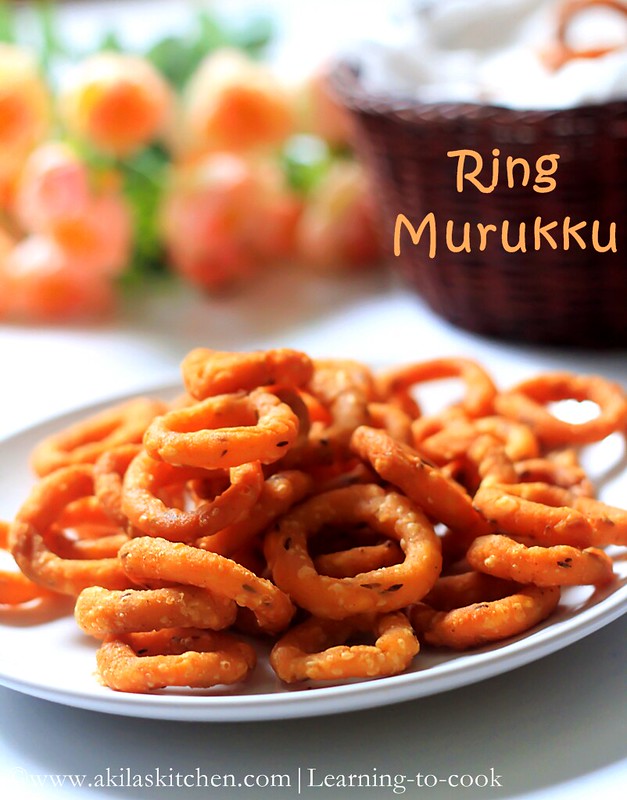
Ring Murukku or chekodi or chegodilu is my favorite murukku in my childhood days. My father used to get it from snack stores in the evening and I just love the ring shaped one. During that time, I do not know its name... I just call it as otta murukku (hole murukku) and my father know what I am asking for. After coming to blogging world, I came to know its Telugu name and still now, do not know its Tamil name. So If anybody know, please let me know it. This is such a lovely and crispy snack and the only difficulty is to make its shape takes more time. But my kids helped me in this process. Ok, lets see the making process of the crispy snack Ring Murukku.

You can view some yummy snacks recipes below
Traditional Karasev
Kaara boondhi
Uppu Seedai
Easy Murukku for Beginners
Galagala / Wheat snack

Ring murukku

How to make Ring Murukku / Chekodi

Soak Time: 1 hr | Preparation time: 45 min | Cook Time: 10 min | Serves: 6
Recipe Category: Snacks | Recipe Cuisine: South Indian
Recipe Source: My kitchen experiments

Ingredients

Rice flour - 1 cup (store bought)
Water - 1 cup
Yellow moong dal - 3 tsp
White sesame seeds - 1 tsp
Cumin seeds - 1 tsp
Chilli powder - 1 tsp
Butter - 1 tsp
Salt - as per taste
Oil - for frying

Method
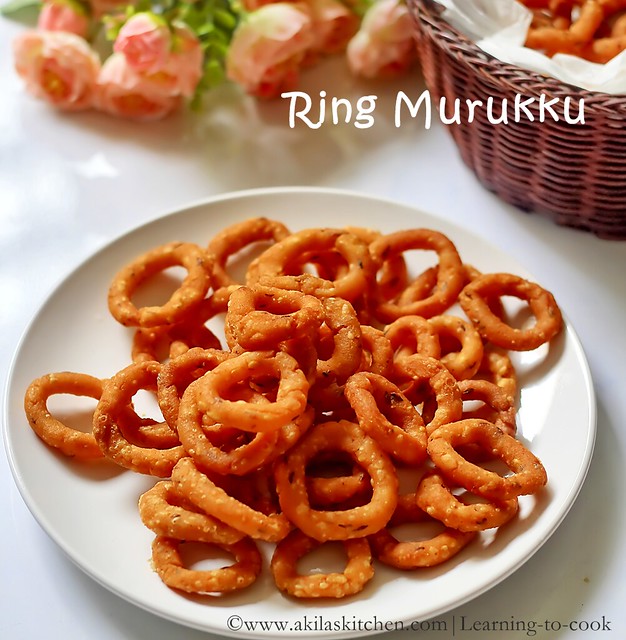
ring murukku

1. Wash and soak the dal for 1 hr.

2. In a vessel add water and when it is boiling, add the butter, salt and the soaked dal.

3. Give a stir and add the rice flour to the boiling water and immediately switch off the water. Mix the rice flour thoroughly and cover and keep aside, until it comes to room temperature.
4. When the dough comes to room temperature (light warm temperature should be ok) add the chilli powder, cumin seeds, sesame seeds and salt if necessary.

5. Make into a smooth dough. If the dough is dry, add a tsp of water and not more than that.
6. Now apply oil in your hand. Take a small portion of dough and roll into a strip of length 6 cm approx. and join the ends and press slightly to make a ring shaped.

7. Ask your kids to help and they can enjoy making it. (Of course they will make some different shaped murukkus... ). Do the same for the rest of the dough.
8. Heat the oil in a vessel and when is very hot, slowly drop the murukku in small batchs.

9. When the murukku, comes floating on top (or the ssshhh... sound stops) reduce the flame to low-medium and cook until they become golden colour.

10. Filter the excess oil and save in a airtight container.

How to make chekodi


Notes:
  • After making the dough, keep it closed with a wet cloth to prevent it from drying.
  • Always keep the flame in high first and then turn to medium for a even crispy murukkus.
  • After making the ring shape, if the murukku breaks, add a drop of water to the murukku and attach it tightly as they may tend to break when dropped in water.

andhra murukku

Yummy and crispy ring murukku / chekodi / chegodilu is ready.

Related Posts with Thumbnails

My Wonderful Followers

Ads

Add to the circles

Learning-to-cook   © 2008-2015. Template Recipes by Emporium Digital

TOP  

//