Showing posts with label Payasam Recipes. Show all posts

Sunday, March 20, 2016

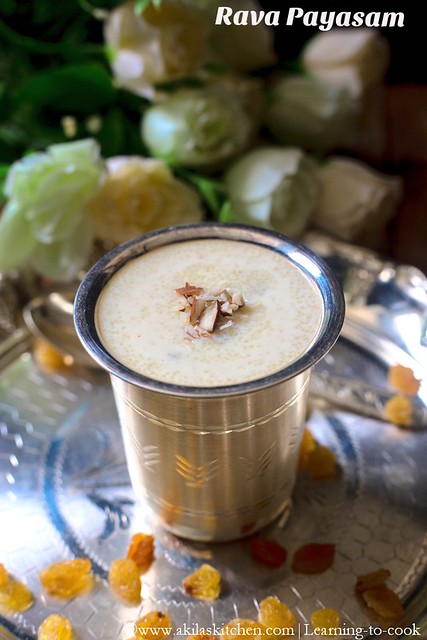
Rava Payasam | Sooji Kheer | Semolina Kheer


rava payasam

Rava Payasam or sooji kheer is one of the easiest payasam which you can make when you have sudden guests at home. I feel anything with rava makes life easier when we are not prepared what to cook or feel lazy to prepare 😜. I wanted to click some sweet recipe with my new camera and I was thinking so many recipes and finally end up with this easy dessert Rava Payasam.

You can view some of the delicious Payasam / Kheer recipe from the below links...
Carrot Kheer
Javvarisi Payasam
Semiya Payasam
Paneer Kheer
Pasta Payasam
Quinoa Payasam
Mango Payasam


So let's go to the easy Rava Payasam Recipe. 
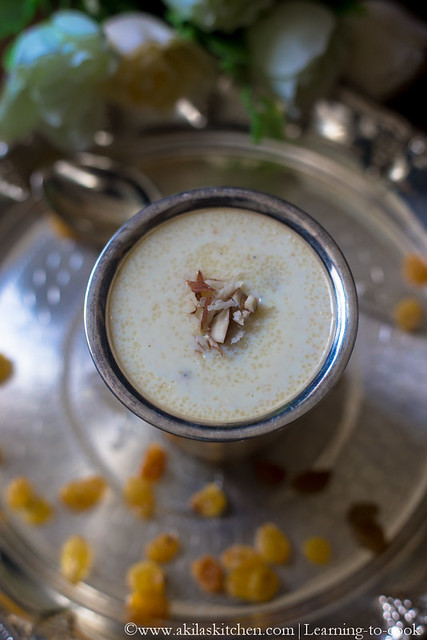

sooji kheer

Rava Payasam Recipe

Preparation time: 5 min | Cook Time: 10 min | Serves: 4
Recipe Category: Dessert | Recipe Cuisine: South Indian


Ingredients
Semolina / Rava - half cup
Full cream milk - 2 cups
Water - 1 cup
Sugar - 3/4 cup ( can increase or decrease according to your tastebuds )
Ghee - 2 tsp
Cashew nuts - few
Raisins - few 
Cardamom - 2 (crushed nicely or 2 pinch of cardamom powder) 
Saffron - a pinch to give nice colour (optional)


Method 

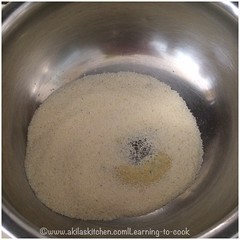
1. In a large pan, add 1 tsp ghee and when slight hot, add the rava.
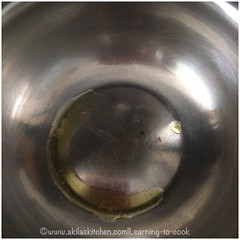


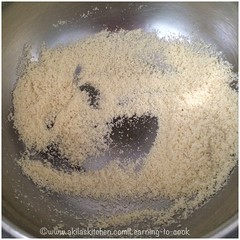
2. Start frying the rava ( 3 to 4 min in low flame ) and keep it aside. (Do not over fry, as it may turn the rava to brown colour and payasam does not look good ).

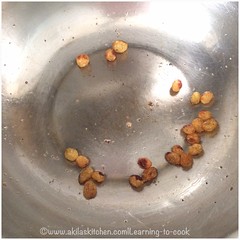
3. In the same pan add the remaining ghee and start frying the cashews and the raisins separately and keep them aside. 


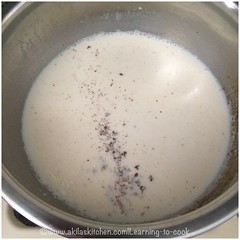
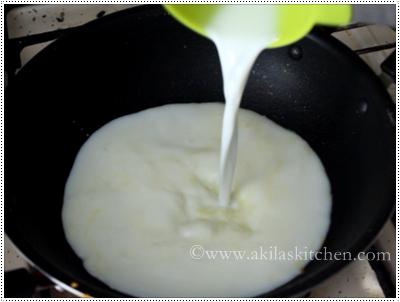
4. In the same pan, add the milk and boil it. Meanwhile, crush some cardamom and add to it.


5. Make the flame to low and add the roasted rava little by little.
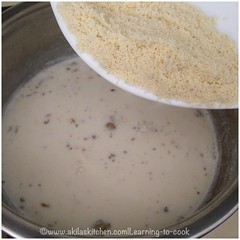

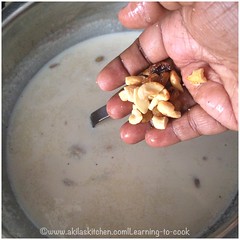
6. Rava starts to cook and the payasam / kheer starts thickening. If you want, you could add some water or milk, at this stage. Now add the fried cashes and raisins.


7. Allow the payasam to boil for a min and switch off the stove.
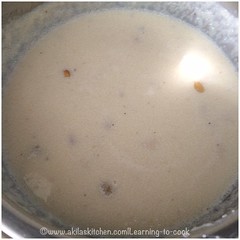

8. Delicious and easy Rava Payasam is ready to  be served.
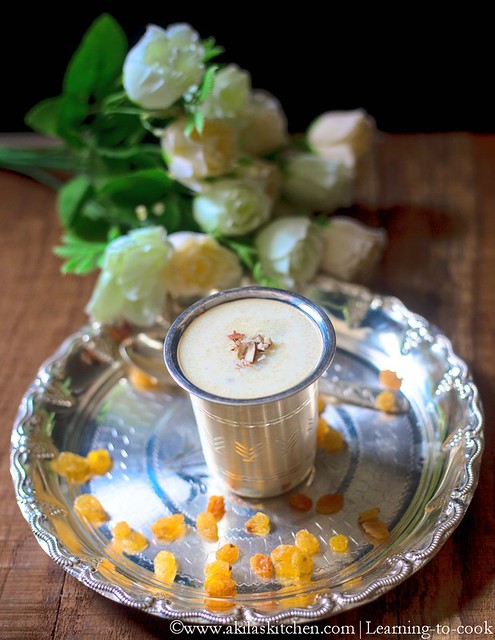
Rava Kheer


Notes:
1. Rava Payasam tends to thicken, when it cools down, so you can add some milk to make it to thin consistency.
2. Instead of milk, you can add condensed milk and make it rich. But reduce the sugar quantity, accordingly.
Sunday, January 26, 2014

Carrot Kheer | How to make Carrot Payasam | Gajar ka kheer | Kheer Recipes | Payasam Recipes


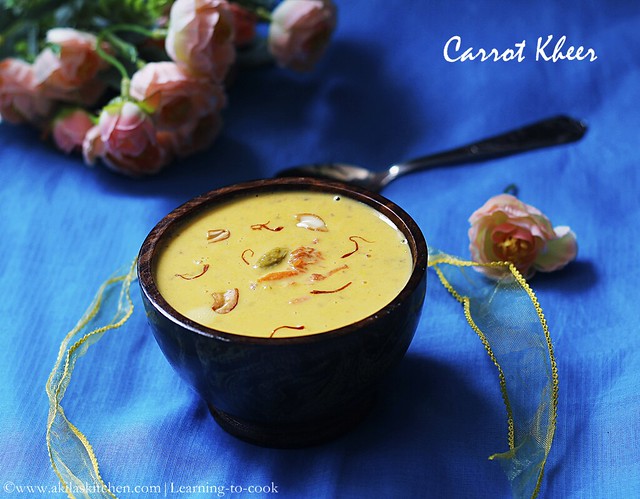
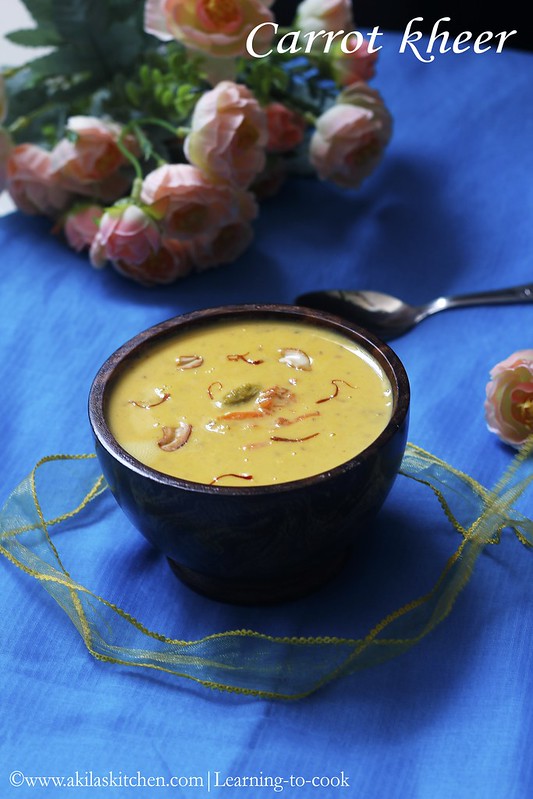
Carrot Kheer / Carrot payasam is a simple, healthy and delicious dessert which can be made very easily. Though I wanted to try this kheer before somehow I kept postponing it. Also there are many versions in preparing this carrot kheer and this one is mine and I feel it is simple and suits my taste. Do try it and let me know. You can see different kheer / payasam recipes in my blog. Some are below.

How to make carrot kheer

Preparation time: 15 min | Cook Time: 15 min | Serves: 3
Recipe Category: Dessert | Recipe Cuisine: South Indian

Ingredients
Carrot - 1
Milk - 1.5 cups + 3 tbsp
Almonds - 7 to 8 (optional)
Cashews -  5 to 6 for frying in ghee +  10 (optional)
Raisins - 8 to 10 for frying in ghee
Sugar - 4 tbsp ( or as per taste )
Ghee - 2 tsp
Saffron - few strands
Cardamom pods - 3 (crushed)
Hot water for soaking almonds and cashews


Method 

1. Grate the carrots. Soak the almonds and cashews in hot water for 30 to 45 min.
2. In a pan/kadai, add 1/2 tsp ghee.
3. When it is hot add the cashews, fry till golden brown and keep it separately. In the same pan, add the raisins, fry it and keep it separately.
4. In the same pan, add 1 tsp ghee and add the grated carrots and fry it till the shhh sound stops (around after 4 to 5 min.)
5. Add 2 to 3 tsp milk and saute them slightly for another 3 min.
6. Transfer the content to the mixer, along with the soaked almonds, cashews and sugar. Grind to a smooth paste. (Add 2 to 3 tsp milk if needed)
7. In the same pan, add milk and add the saffron. Allow to boil.
8. Add the ground paste and mix nicely. Care to be taken, that it might get stick to the bottom and the sides of the pan. Keep on stirring gently.
9. Add the crushed cardamom and the fried cashews and raisins. Give a stir. Check whether the kheer came to a little thick consistency as shown below.

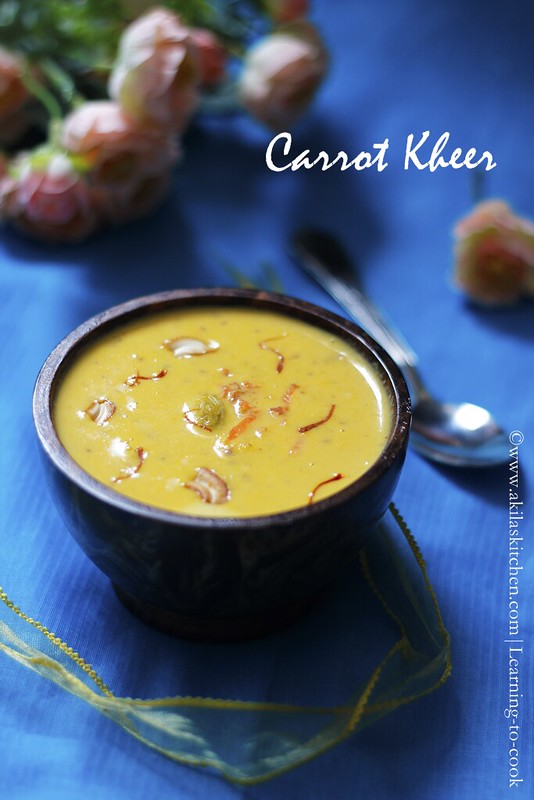
10. Switch off the stove and serve the hot and delicious carrot kheer.


Delicious, Tasty and Healthy Carrot Kheer is ready

Note:
1. Addition of cashews while grinding is purely optional. It enhances the kheer taste. If you are health or diet conscious, you can avoid it.


Tuesday, September 24, 2013

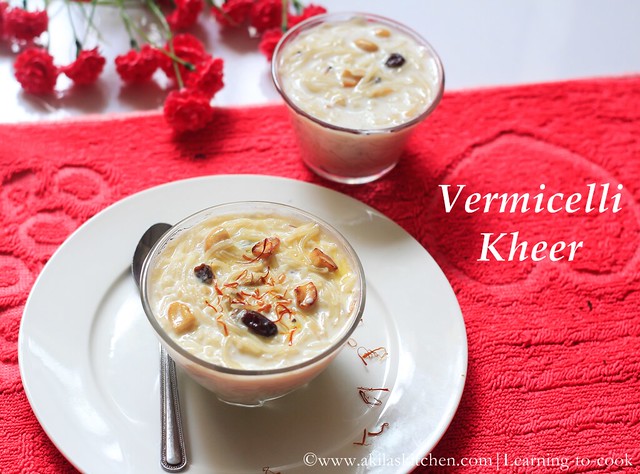
Semiya Payasam | Vermicelli Payasam | Vermicelli Kheer | Seviyan kheer | Easy payasam Recipes | Simple Kheer Recipes

How to make semiya payasam

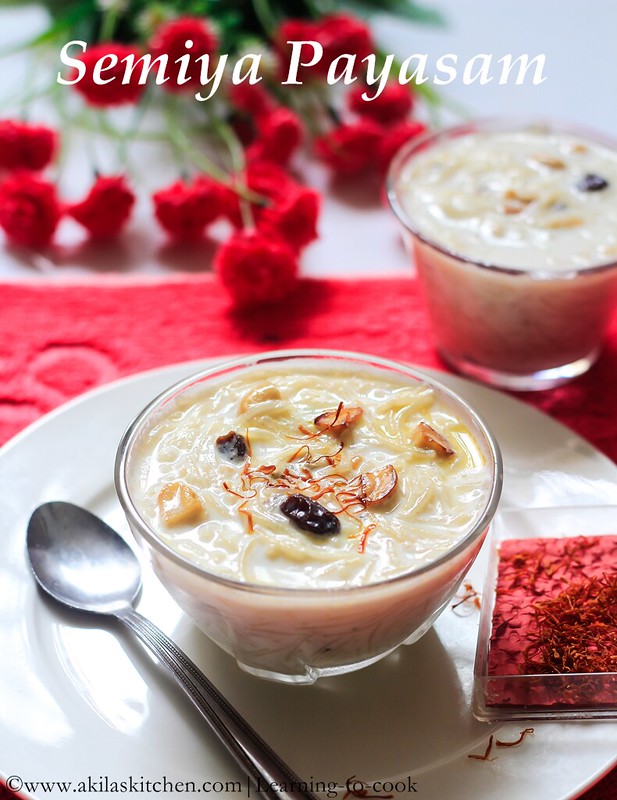
Semiya payasam or Vermicelli payasam or Vermicelli kheer is an easy, simple and delicious kheer. This is one of our family favorite payasam and also the first payasam, which i learnt to make it in early days. It can be made in a jiffy when any guests arrives at home and can never go wrong most of the times. I have posted some easy and yummy payasam recipes and you can have a look on it.

Some of the delicious payasam/kheer recipes are

Mango kheer / Mango payasam
Pasta Payasam
Javvarisi Semiya payasam
Quinao Payasam
Jackfruit Kheer

How to make vermicelli kheer

How to make Semiya Payasam / Vermicelli Payasam / Vermicelli Kheer

Preparation time: 10 min | Cook Time: 15 min | Serves: 4
Recipe Category: Dessert | Recipe Cuisine: South Indian

Ingredients
1. Milk - 3 cups + 1 cup
2. Semiya (vermicelli) - 1 cup
3. Sugar - According to taste
4. Cardamom pods - 5 to 6 (crushed)
5. Cashews - 8 to 10 
6. Raisins - 8 to 10
7. Water - 1 cup
8. Salt - a pinch
9. Ghee - 2 to 3 tsp

Method

vermicelli payasam

1. In a small pan, fry the vermicelli in 1 tsp ghee, till it becomes, light brown and keep it aside.


2. In the same pan, 1 tsp ghee and again fry the cashews and raisins and keep aside.


3. In a vessel, add 1 cup milk + 1 cup water and allow to boil and add a pinch of salt to it. 


4. Now add the fried vermicelli and when it is 3/4th cooked, add the sugar, cardamom pods.


5. Add the remaining milk and allow to boil.

6. Add the cashews, raisins and the saffron and mix well and serve hot.

7. Delicious Payasam is ready

seviyan kheer

Notes:
1. Adding a pinch of salt, enhances the taste of the payasam.
2. Instead of adding, 1 cup milk + 1 cup water, you can cook the vermicelli in the water itself (until 3/4th cooked) and then add the milk. My mother uses this way and i am following it. 
3. Semiya Payasam will thicken when it cools down. So you can add little milk and add to it accordingly.
4. You can reduce the sugar and milk and can add condensed milk, for a rich taste.

simple kheer recipes

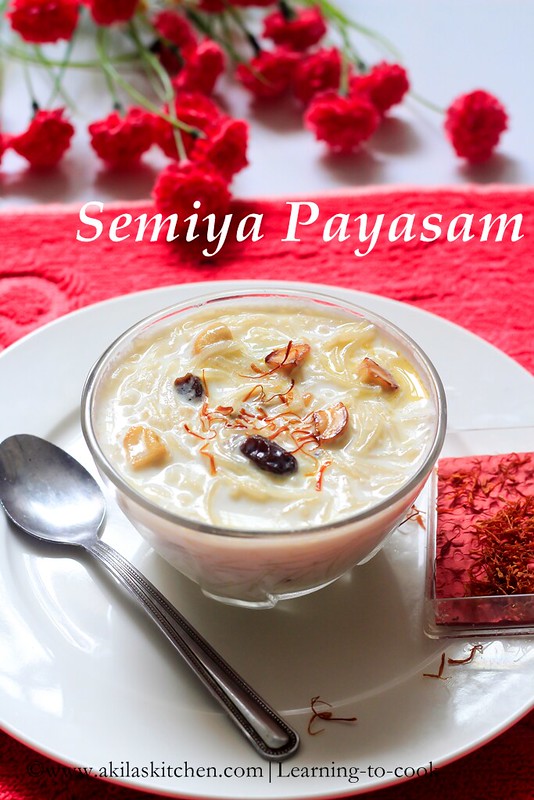
Easy and Delicious Semiya payasam / Vermicelli Kheer is ready. 

Thursday, February 21, 2013

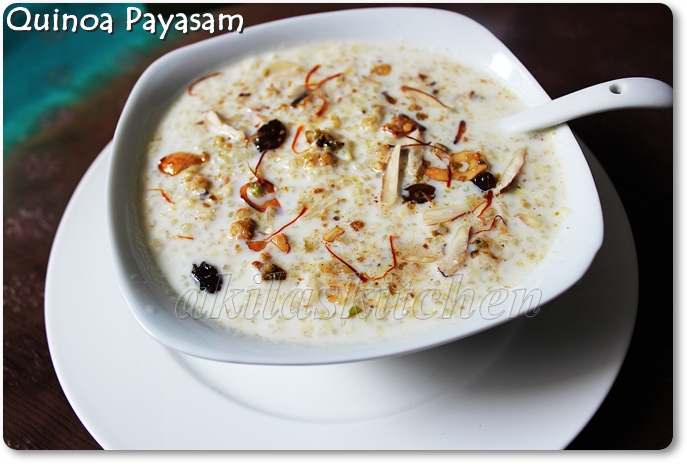
Quinoa Payasam / Quinoa kheer / Payasam Recipes


I never heard about quinoa until I came into the blogging world. Hope many of you also like me. First time I saw this in Mustafa Centre, but did not buy as I have no idea what to do. After that I searched net and came across some great recipes. I saw many of our friends trying this payasam and I too thought of trying the sweet recipe first, which also suits for my event.


Ingredients

  • Quinoa seeds - 1 cup
  • Water - 2 cups
  • Salt - a pinch (optional)
  • Milk - 3/4 litre
  • Sugar - 1.5 cups (adjust accordingly to the sweetness)
  • Nuts - few cashews, almonds, pista
  • Raisins - few
  • Few strands of saffron
  • Ghee for frying the nuts - 1 tsp


Method

  • Wash and cook quinoa with 2 cups of water and salt in the pressure cooker for 3 whistles.


  • In a small pan, add ghee and fry the nuts and raisins and keep aside.
  • In a wide pan, add the milk and saffron and allow the milk to boil.
  • Now add in the cooked quinoa and sugar and let it cook for 5 minutes.
  • Add the fried nuts and raisins, give a stir.
  • Healthy and delicious quinoa payasam is ready to be served. 


Note: 
Quinoa can be cooked without the pressure cooker also, but takes more than 10 min.
Salt is optional. We used to add a pinch of salt as we feel it enhances the taste.

This goes to my event Dish name starts with Q

Related Posts with Thumbnails

My Wonderful Followers

Ads

Add to the circles

Learning-to-cook   © 2008-2015. Template Recipes by Emporium Digital

TOP  

//