
 Posts
Posts


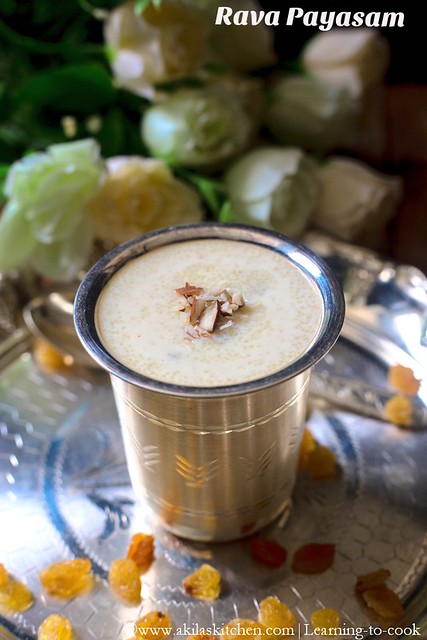
Rava Payasam or sooji kheer is one of the easiest payasam which you can make when you have sudden guests at home. I feel anything with rava makes life easier when we are not prepared what to cook or feel lazy to prepare 😜. I wanted to click some sweet recipe with my new camera and I was thinking so many recipes and finally end up with this easy dessert Rava Payasam.
You can view some of the delicious Payasam / Kheer recipe from the below links...
Carrot Kheer
Javvarisi Payasam
Semiya Payasam
Paneer Kheer
Pasta Payasam
Quinoa Payasam
Mango Payasam
So let's go to the easy Rava Payasam Recipe.
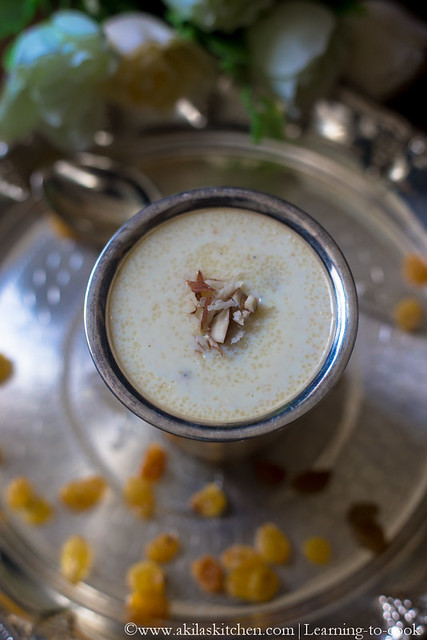
Rava Payasam Recipe
Preparation time: 5 min | Cook Time: 10 min | Serves: 4
Recipe Category: Dessert | Recipe Cuisine: South Indian
Ingredients
Semolina / Rava - half cup
Full cream milk - 2 cups
Water - 1 cup
Sugar - 3/4 cup ( can increase or decrease according to your tastebuds )
Ghee - 2 tsp
Cashew nuts - few
Raisins - few
Cardamom - 2 (crushed nicely or 2 pinch of cardamom powder)
Saffron - a pinch to give nice colour (optional)

Method
1. In a large pan, add 1 tsp ghee and when slight hot, add the rava.
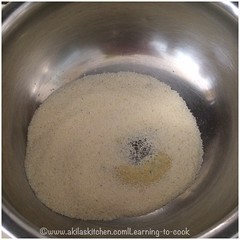
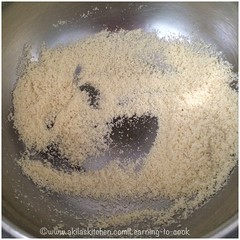
2. Start frying the rava ( 3 to 4 min in low flame ) and keep it aside. (Do not over fry, as it may turn the rava to brown colour and payasam does not look good ).


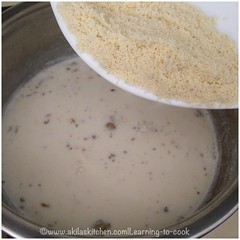
5. Make the flame to low and add the roasted rava little by little.
7. Allow the payasam to boil for a min and switch off the stove.
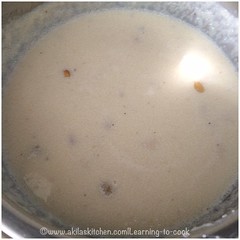
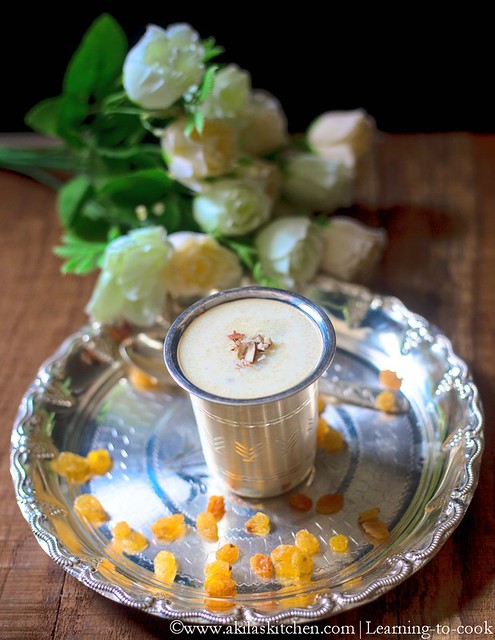
8. Delicious and easy Rava Payasam is ready to be served.
Notes:
1. Rava Payasam tends to thicken, when it cools down, so you can add some milk to make it to thin consistency.
2. Instead of milk, you can add condensed milk and make it rich. But reduce the sugar quantity, accordingly.
2. Start frying the rava ( 3 to 4 min in low flame ) and keep it aside. (Do not over fry, as it may turn the rava to brown colour and payasam does not look good ).
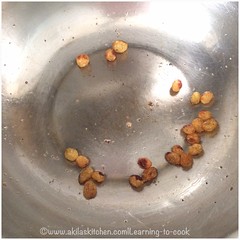
3. In the same pan add the remaining ghee and start frying the cashews and the raisins separately and keep them aside.
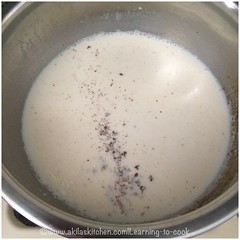
4. In the same pan, add the milk and boil it. Meanwhile, crush some cardamom and add to it.
5. Make the flame to low and add the roasted rava little by little.
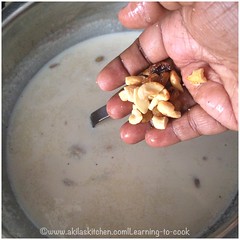
6. Rava starts to cook and the payasam / kheer starts thickening. If you want, you could add some water or milk, at this stage. Now add the fried cashes and raisins.
7. Allow the payasam to boil for a min and switch off the stove.
8. Delicious and easy Rava Payasam is ready to be served.
Notes:
1. Rava Payasam tends to thicken, when it cools down, so you can add some milk to make it to thin consistency.
2. Instead of milk, you can add condensed milk and make it rich. But reduce the sugar quantity, accordingly.