Showing posts with label Easy Snacks. Show all posts

Thursday, October 3, 2013

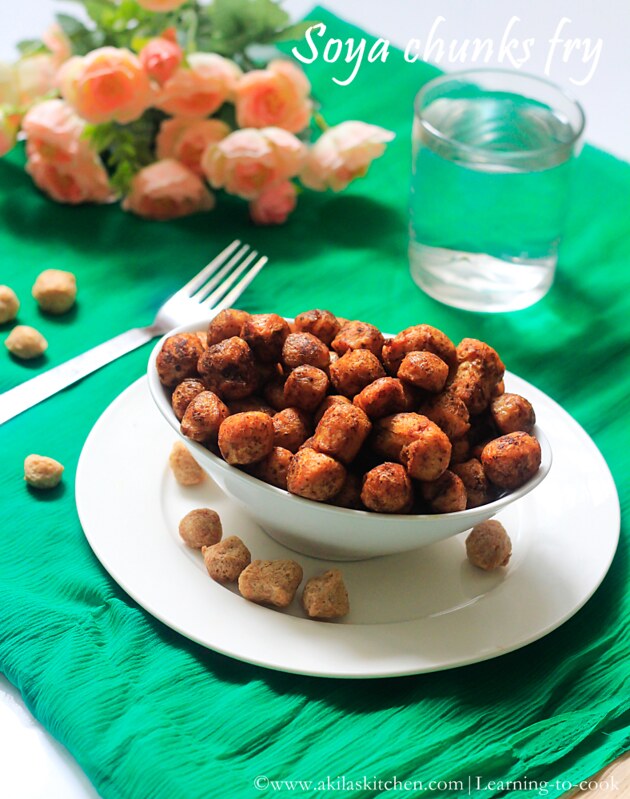
Soya Chunks Fry | Meal Maker Fry | How to make Soya Balls Fry | Easy Evening Snacks | Easy Side Dish for Rice

soya chunks fry

Soya chunks fry or meal maker fry is one of the easiest and tasty fry I can say. When I was working in India my office colleague brought this soya chunks fry and I loved the taste immediately. From that time on wards it has become one of my favorite evening snack and a easy to do snack when I am not in a mood to cook any side dish for rice.

You can find some soya chunks recipes in this blog...
Soya chunks cutlet
Soya balls gravy
Soya chunks Biryani

Let's see how to make the easy soya chunks fry
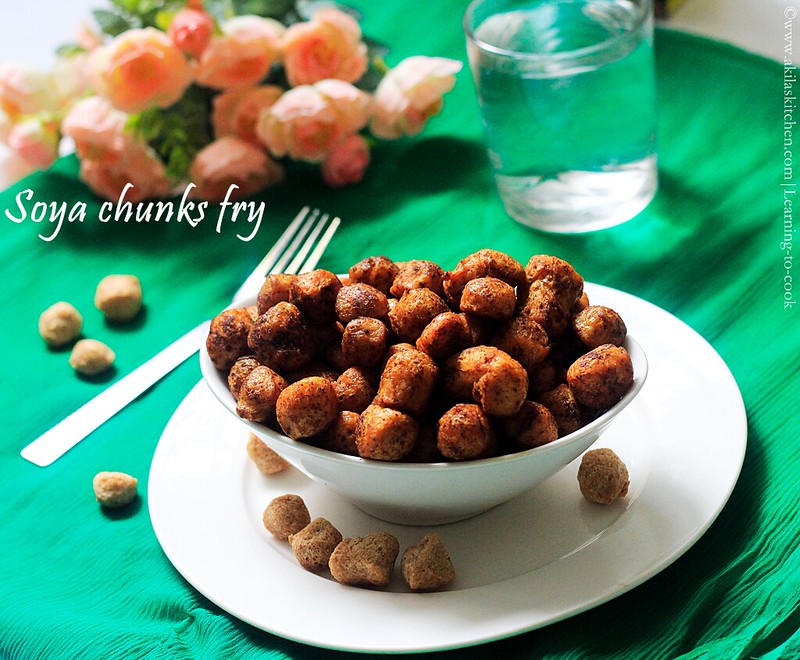
simple soya fry

How to make soya chunks fry / meal maker fry / soya balls fry

Preparation time: 30 min | Cook Time: 10 min | Serves:3
Recipe Category: Side dish | Recipe Cuisine: Indian

Ingredients
1. Soya chunks - 1 cup
2. Oil - 2 tsp
3. Chilli powder - 3/4 tsp
4. Turmeric powder - 2 pinch
5. Coriander powder - 1/2 tsp
6. Salt - as per taste
7. Water for soaking soya chunks

Method

1. Soak the soya balls for 1/2 hour or as mentioned in the packet.
2. Squeeze the water completely and leave it to get dry for 10 min.
3. Now in a vessel or kadai add the oil and when it is hot add the powders and salt and start fryinG it. Keep the flame in low while doing so.
4. Now add the soya balls and start mixing it thoroughly until the balls are coated with the powders. Keep doing for another 6 to 8 min. Keep the flame in medium.
5. Switch off the stove and serve the yummy fry as a side dish or have it as a evening snack.
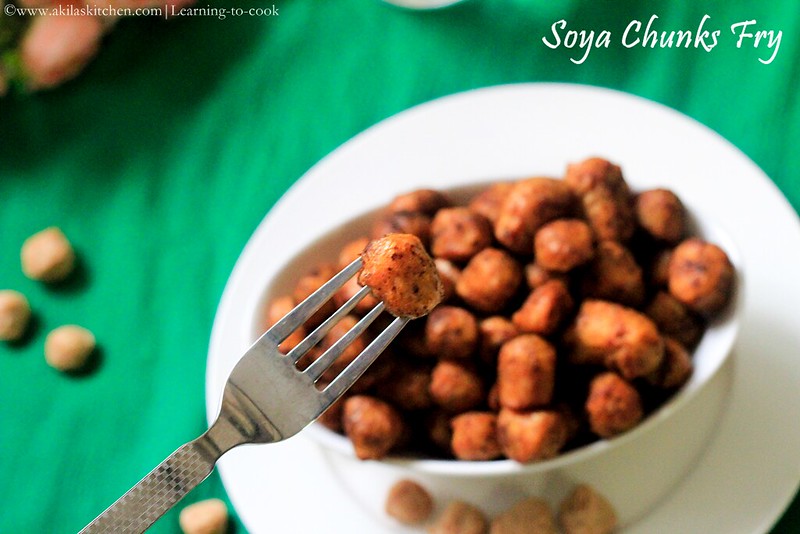
soya balls fry

Notes
You can adjust the spiciness according to your taste.
If you like you can make the tempering by adding mustard seeds, curry leaves and urus dal before adding the powders. I didn't add as I love to make this way. 
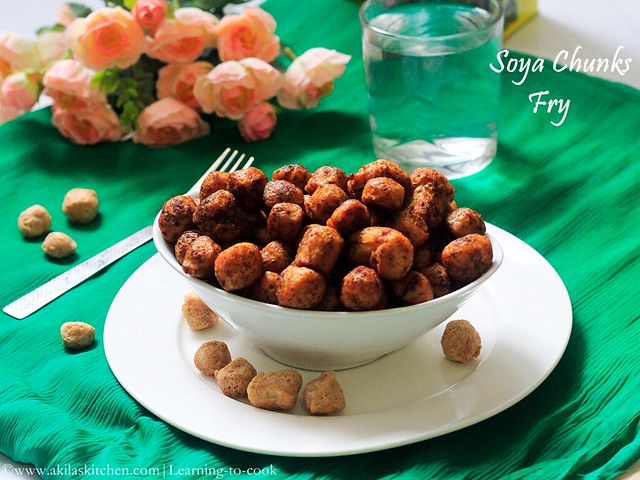
meal maker fry

Easy and simple soya chunks fry / meal maker fry is ready. 


Thursday, September 26, 2013

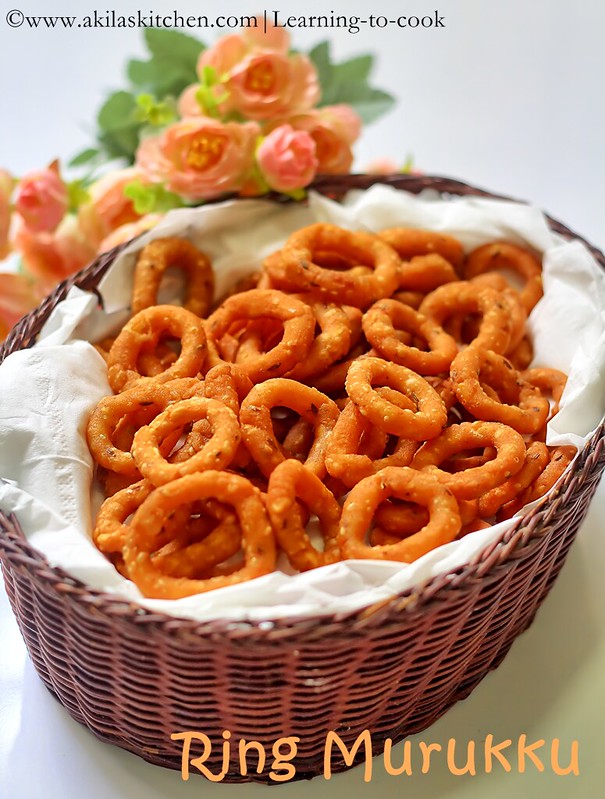
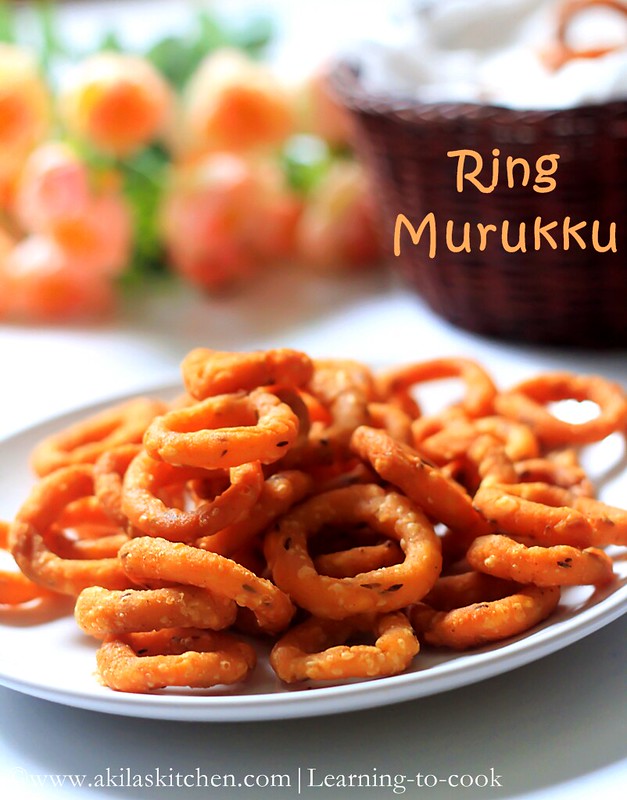
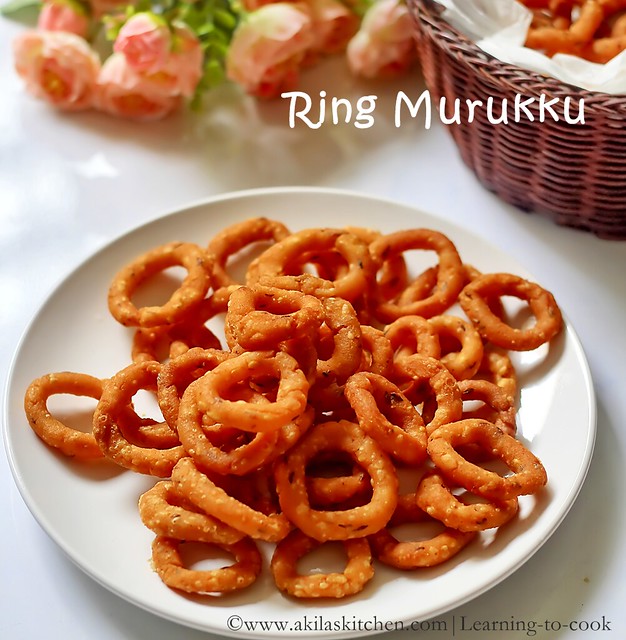
Ring Murukku | Chekodi | Chegodilu | How to make ring murukku | Diwali Snacks | Murukku recipes

Chekodi

Ring Murukku or chekodi or chegodilu is my favorite murukku in my childhood days. My father used to get it from snack stores in the evening and I just love the ring shaped one. During that time, I do not know its name... I just call it as otta murukku (hole murukku) and my father know what I am asking for. After coming to blogging world, I came to know its Telugu name and still now, do not know its Tamil name. So If anybody know, please let me know it. This is such a lovely and crispy snack and the only difficulty is to make its shape takes more time. But my kids helped me in this process. Ok, lets see the making process of the crispy snack Ring Murukku.

You can view some yummy snacks recipes below
Traditional Karasev
Kaara boondhi
Uppu Seedai
Easy Murukku for Beginners
Galagala / Wheat snack

Ring murukku

How to make Ring Murukku / Chekodi

Soak Time: 1 hr | Preparation time: 45 min | Cook Time: 10 min | Serves: 6
Recipe Category: Snacks | Recipe Cuisine: South Indian
Recipe Source: My kitchen experiments

Ingredients

Rice flour - 1 cup (store bought)
Water - 1 cup
Yellow moong dal - 3 tsp
White sesame seeds - 1 tsp
Cumin seeds - 1 tsp
Chilli powder - 1 tsp
Butter - 1 tsp
Salt - as per taste
Oil - for frying

Method
ring murukku

1. Wash and soak the dal for 1 hr.

2. In a vessel add water and when it is boiling, add the butter, salt and the soaked dal.

3. Give a stir and add the rice flour to the boiling water and immediately switch off the water. Mix the rice flour thoroughly and cover and keep aside, until it comes to room temperature.

4. When the dough comes to room temperature (light warm temperature should be ok) add the chilli powder, cumin seeds, sesame seeds and salt if necessary.

5. Make into a smooth dough. If the dough is dry, add a tsp of water and not more than that.
6. Now apply oil in your hand. Take a small portion of dough and roll into a strip of length 6 cm approx. and join the ends and press slightly to make a ring shaped.

7. Ask your kids to help and they can enjoy making it. (Of course they will make some different shaped murukkus... ). Do the same for the rest of the dough.
8. Heat the oil in a vessel and when is very hot, slowly drop the murukku in small batchs.

9. When the murukku, comes floating on top (or the ssshhh... sound stops) reduce the flame to low-medium and cook until they become golden colour.

10. Filter the excess oil and save in a airtight container.

How to make chekodi


Notes:
  • After making the dough, keep it closed with a wet cloth to prevent it from drying.
  • Always keep the flame in high first and then turn to medium for a even crispy murukkus.
  • After making the ring shape, if the murukku breaks, add a drop of water to the murukku and attach it tightly as they may tend to break when dropped in water.

andhra murukku

Yummy and crispy ring murukku / chekodi / chegodilu is ready.

Sunday, March 3, 2013

Roasted Chickpeas - Spicy Version / Oven Roasted

I always love to munch something on... that too, weekend evenings... I book marked this post on oven roasted chickpeas by our lovely blogger friend Suma @ Veggie Platter long ago. But now only got the perfect time to prepare it. Its really very tasty and crunchy. I wanted a extra bit spiciness and tangy taste in it and so added tikka masala too. Thank you Suma, for sharing the wonderful recipe. 

Ingredients

  • Chickpeas / Konda kadalai - 1 cup
  • Salt - as per taste
  • Olive oil - 1 tsp
  • Chilli powder - 1 tsp
  • Tikka masala - 1 tsp
  • Turmeric powder - a pinch (optional)


Method
  • Soak Chickpeas overnight.
  • Add little salt (a pinch) and Pressure cook it for 3 to 4 whistles.
  • When it is cooked, drain the water or store it and it can be used to prepare rasam.
  • Take a baking tray and cover with aluminium foil. 
  • Now spread the cooked chickpeas.
  • Add the chilli powder, tikka masala, turmeric powder, salt and mix well.
  • Now either spray the oil over the chickpeas, or add oil and mix thoroughly.
  • Keep the oven in 150 deg C, and place the tray in the first rack. 
  • After 15 min, take out the tray and give a stir. After that, for each 10 min, take out the tray and give a stir. 
  • Repeat the process, till the chickpeas turns into light brown colour. 
  • Take out, cool it and roasted chickpeas is ready to munch on or store in a air tight container.


Note: 
  • Any cooking oil can be used.
  • Turmeric is optional.
  • I added, tikka masala, for extra spiciness and tangy taste. It is purely optional. Original recipe, does not have it. 

This goes to the following events


Monday, November 26, 2012

Masala Pori / Masala Puffed Rice

This is a very easy to prepare recipe in less than 10 min of time which is healthy too. For festive days, like Vijayadasami or Vinayaga Chathurthi, we used to buy more Pori/Puffed rice and most of the time, it is left unused. So we can make this Masala Pori using the leftover Pori.

Ingredients

  • Puffed rice/Pori - 3 cups
  • Oil - 1 tsp
  • Mustard seeds -  a pinch
  • Peanuts - 2 tsp
  • Cashews - 5 to 6
  • Roasted Gram/Pottu Kadalai - 2 tsp
  • Curry leaves - few
  • Dry Red Chillies - 2
  • Chilli Powder - 3/4 tsp
  • Turmeric powder - a pinch
  • Salt - For taste (1/2 tsp
  • Sugar - For taste


Method

  • In a Pan, or wide vessel, add oil and when hot add mustard seeds.

  • Then, add the peanuts, cashews, roasted gram, curry leaves, dry chillies and start frying it.

  • When the nuts becomes slightly brown, add the chilli powder, turmeric powder and add the puffed rice and start frying it.


  • Add the salt and mix the puffed rice, very well so that the powders are well coated.


  • Add the sugar finally.

  • Great tea time snack is ready.
  • Can be stored in air tight container.

Related Posts with Thumbnails

My Wonderful Followers

Ads

Add to the circles

Learning-to-cook   © 2008-2015. Template Recipes by Emporium Digital

TOP  

//