Showing posts with label Easy Indian Sweet Recipes. Show all posts

Wednesday, May 25, 2016

Milk Halwa | Paal Halwa | Indian Desert Recipes


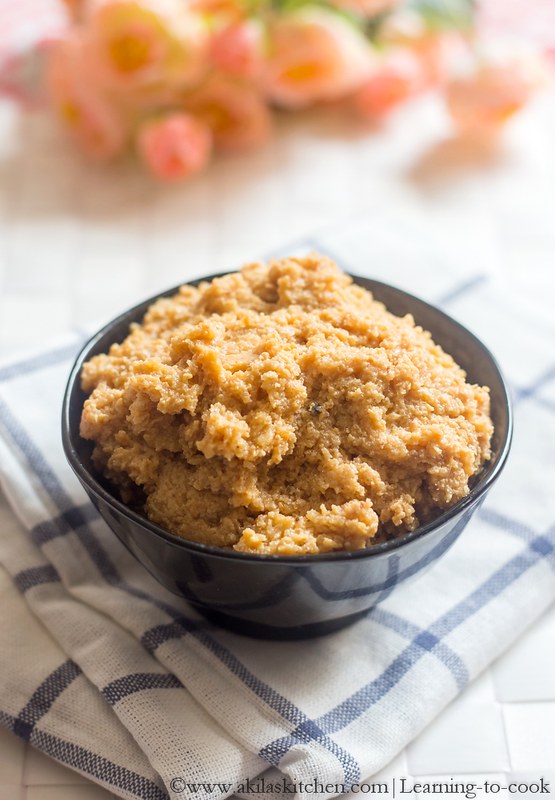
Milk halwa

Milk Halwa or Paal Halwa Recipe - This Milk halwa is my hubby favorite dessert. During my early marriage days, he used to ask me whether I know to prepare Milk Halwa.. That time cooking is a nightmare for me. Also as I am not fond of any milk desserts I didn't show much interest in learning this Milk Halwa recipe.


After I came Singapore, One day, my father brought this Halwa from India and I loved the taste. From then on, I wanted to prepare the halwa, but somehow kept postponing. So finally last week took the recipe from here n tried to celebrate my blogs anniversary month (6th year) and it came out good. Kept for 3 days and finished it. Let's check on the Preparation of Milk Halwa

You can check out other desserts below - 
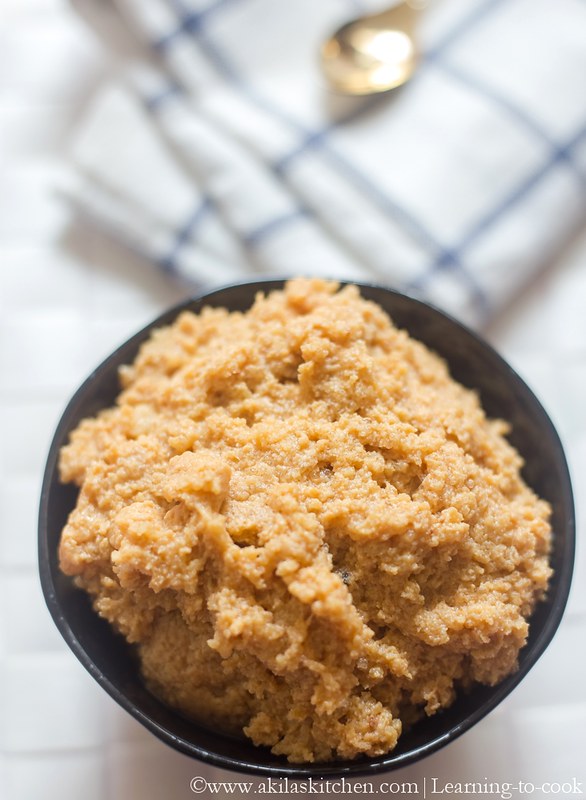
Milk Halwa

Milk Halwa Recipe

Preparation time: 0 min | Cook Time: 60 min (+ or -) | Serves: 4
Recipe Category: Dessert | Recipe Cuisine: South Indian


Ingredients 
Milk - 2 litres
Rava - 3 tbsp
Sugar - 1/2 cup ( + or - as per your taste)
Ghee - 8 - 10 tbsp
Cardamom - 1/5 tsp
Saffron - a pinch (optional)
Lemon juice  - few drops 

Method to Prepare Milk Halwa

1. Fry the rava till light brown and keep it aside. Now start boiling the milk.
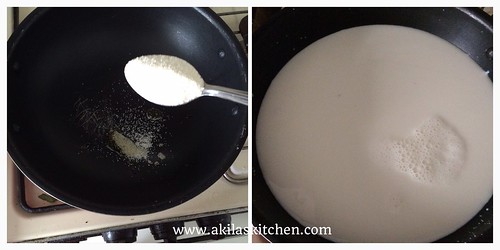
Milk Halwa

2. Keep stirring the milk and do this process until the milk comes to 1/3rd of its quantity.
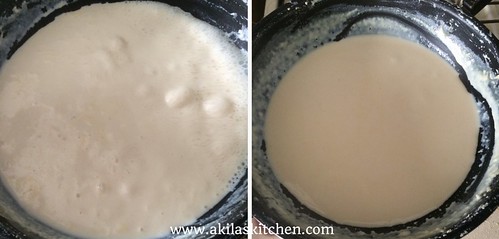
Milk Halwa

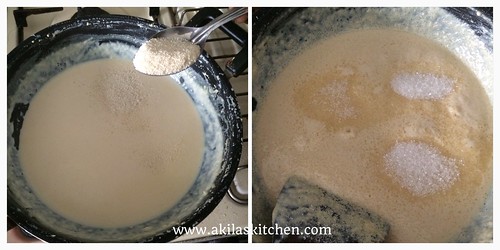
3. Add the fried rava. Stir it. After 5 minutes add the sugar and mix well.
Milk Halwa

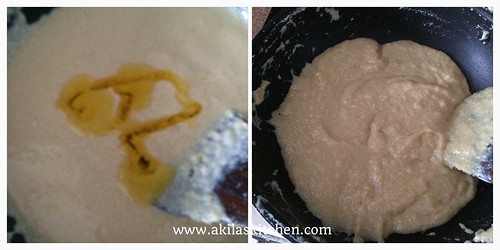
4. Now add the ghee. Then add lemon juice. Keep stirring till the milk comes to a consistency shown in below.
Milk Halwa

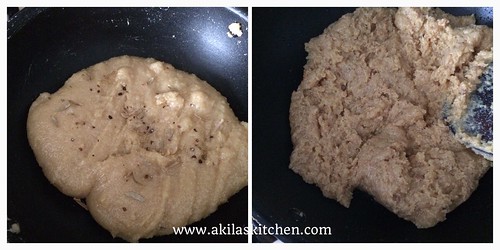
5. Now add the cardamom powder and mix well. Now hold the handle tightly and mix as the milk halwa becomes very thick.
Milk Halwa

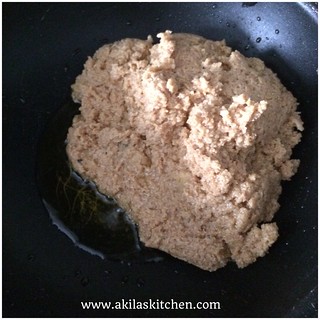
6. At a stage, you may notice the ghee start oozing out from the halwa. This is the correct stage to switch off the stove.
Milk Halwa

7. Remove the Milk Halwa from the stove and serve hot. You can also store this halwa for 3 to 4 days when refrigerated.
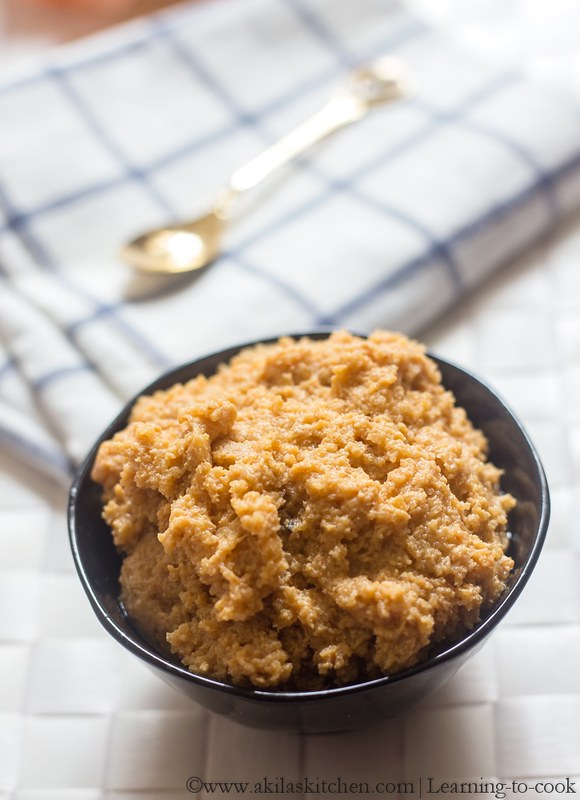

Milk Halwa

Yummy Milk Halwa is ready. Do you want it??? 😊😊.. 

Notes:
1. Try to use non stick pan as it would be easy to stir.
2. Always use a thick and flat bottomed pan for making this halwa, so that milk thickens faster. 
3. If you like, you can add your favorite nuts as toppings and serve it. 

Friday, May 23, 2014

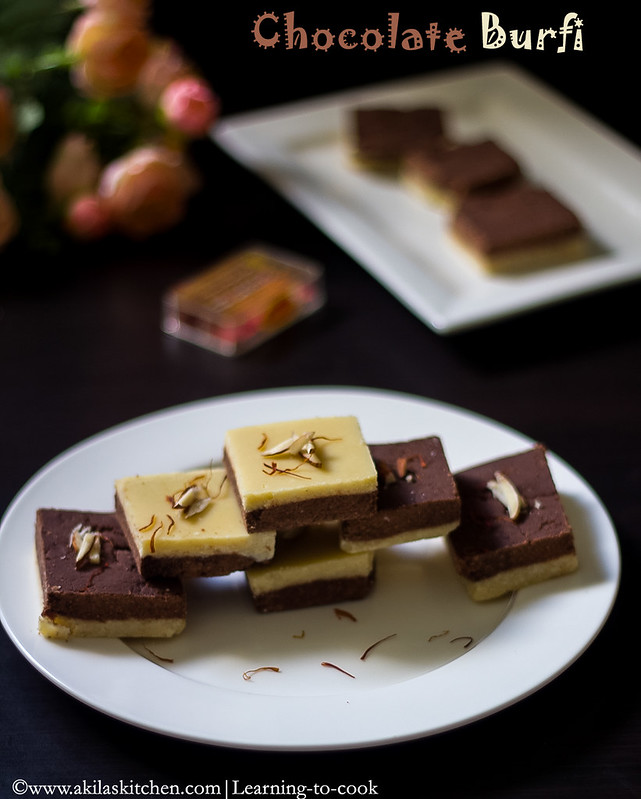
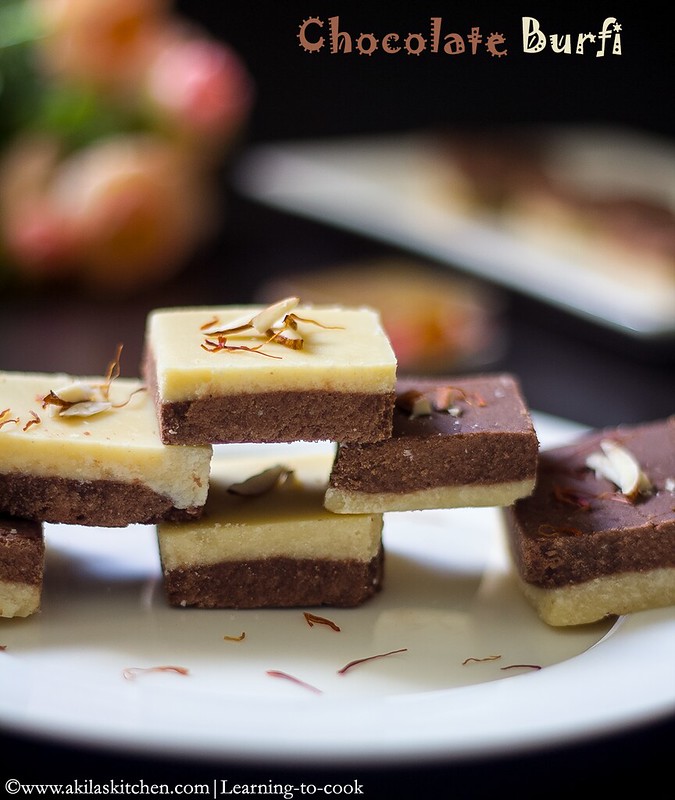
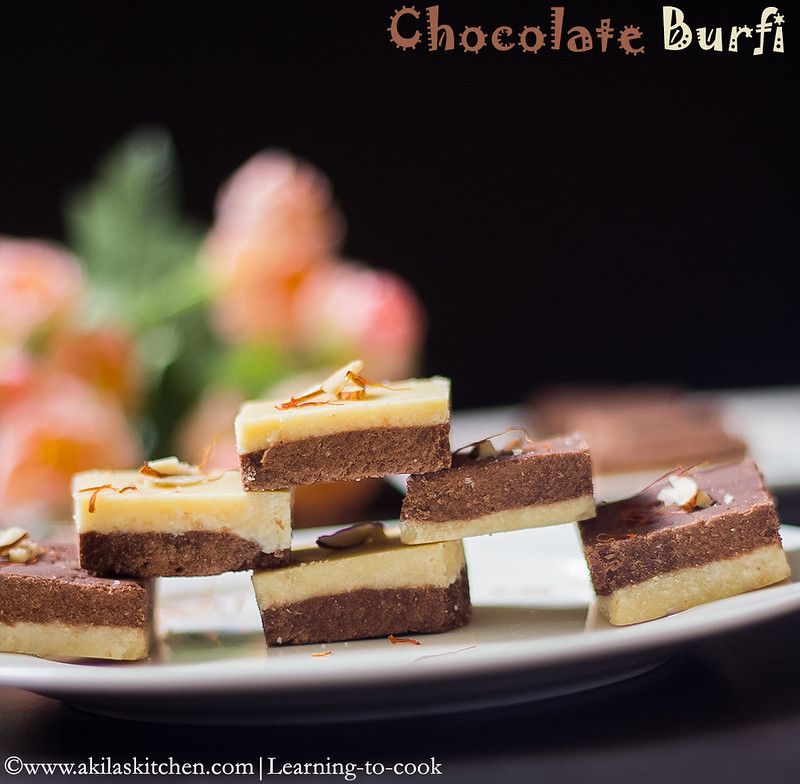
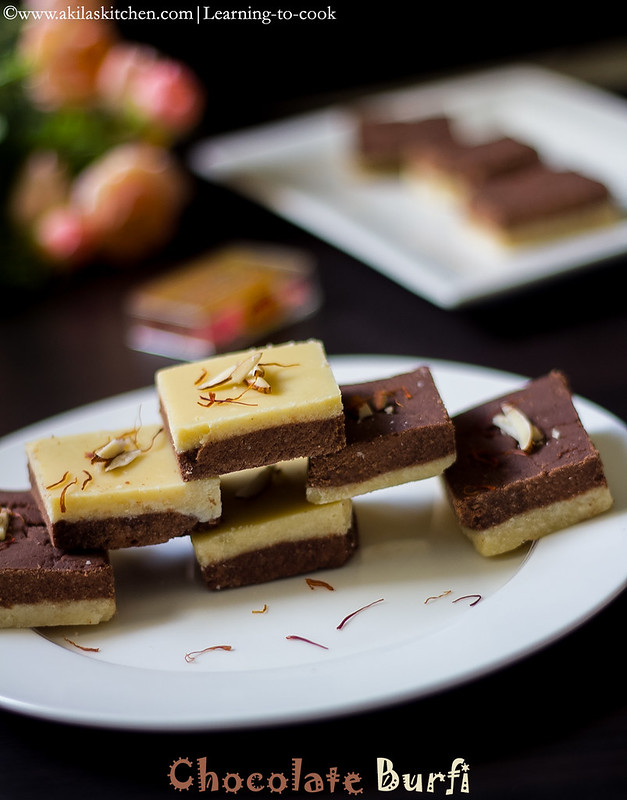
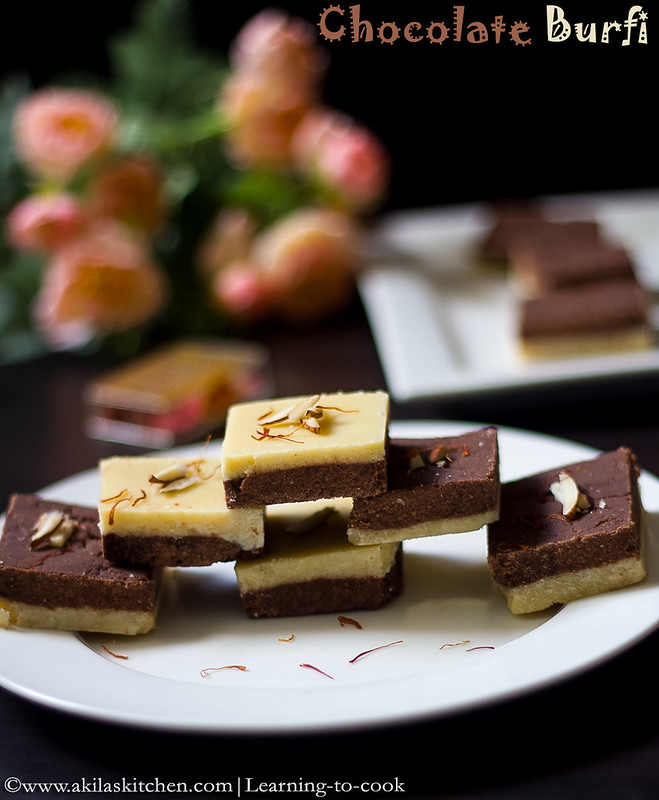
Chocolate burfi using khoya | How to make chocolate burfi using khoya | Chocolate khoya burfi | Diwali Sweets | Festival Sweets | Easy Indian Sweets


Chocolate khoya burfi

It's time for a celebration. Yes, I prepared this Chocolate burfi as my 400th Post. I was so happy. There are many fellow bloggers who blogs so frequently with great recipes. Though I could not post that frequently, I love my cooking, blogging and posting recipes, whenever I get time. I could not have achieved this without your support and appreciation. A big thank you for my family, all the fellow bloggers, my readers. 

Actually this burfi I tried long before using this recipe here, and used home made khoya. But it didn't turn out well. So again I tried using store bought khoya and followed the same recipe but did not add milk, as my mom told, it might reduce the self life and the result was awesome and I was so happy. Will again try with homemade khoya some other time. Let's go to the recipe Chocolate Burfi using Khoya.


chocolate burfi recipe

Chocolate Burfi using Khoya

Preparation time: 05 min | Cook Time: 30 min 
Total Time: 35 min | Serves: 6
Recipe Category: Dessert | Recipe Cuisine: South Indian

Ingredients
Khoya - 250 gms (when crushed came to 2 1/4 cups)
Sugar - 1.5 cups
Ghee - 1/2 tsp (for greasing)
Cocoa powder - 1.5 tbsp
Crushed cardamom - 2 pinch ( optional )
Few Saffron and nuts for garnishing


chocolate burfi


Method
1. Grease a plate with 1/2 tsp ghee and keep it ready. Crush the khoya and divide half the portion and keep it aside. Add first portion to the medium hot pan. Add half of the sugar. Keep stirring. Sugar and khoya leaves out water and tend to stick to the pan so keep on stirring. 


2. Add the cardamom powder mix well. Dont allow the mawa to turn brown. Just cook till it thickens and when it attains the thick consistency, transfer it to the greased plate and flatten it. 


3. To the same pan, add the remaining portion of khoya, sugar and keep stirring. When it loosens, add the cocoa powder and mix well till it thickens. 


4. Spread this content above the white layered khoya. Flatten it immediately. You can use any butter paper or baking sheet for this to get smooth top layer. I just used the spoon to do it. So mine is not that much smooth.

5. Allow to cool completely and using a pizza cutter or a knife, draw squares and cut into pieces. 


6. Remove them carefully and serve them.


chocolate burfi using khoya


chocolate khoya burfi

Yummy and tasty Chocolate Burfi is ready

Notes:
1. For richer taste, you can add 1/4 cup milk to the burfi, but it reduces its self life, also takes longer time to get the thick consistency.
2. This burfi can be stored for 3 days outside and 2 weeks in fridge.
3. Adding cardamom is purely optional. You can add a drop of vanilla essence also. 
4. You can adjust the sugar level as per your sweet tooth. 

Related Posts with Thumbnails

My Wonderful Followers

Ads

Add to the circles

Learning-to-cook   © 2008-2015. Template Recipes by Emporium Digital

TOP  

//