Tuesday, September 30, 2014

Capsicum Raita | Bell Pepper Raita | North Indian Raita Recipes | Raita for Biryani | Easy Raita Recipes

how to make capsicum raita

As I mentioned in my Cucumber Lassi, I tasted Capsicum Raita recipe also in the same Party. I loved the raita because of the capsicum crunchiness, it's simplicity and it's taste. I tried this on the next Saturday itself and paired it with Sweet corn Pulao. Though I liked the combination my mom complained raita could have been better with more spicier dishes like chicken Biryani or egg Briyani. Will try this Capsicum Raita again with spicy meal. 

You can also view some raita recipes 

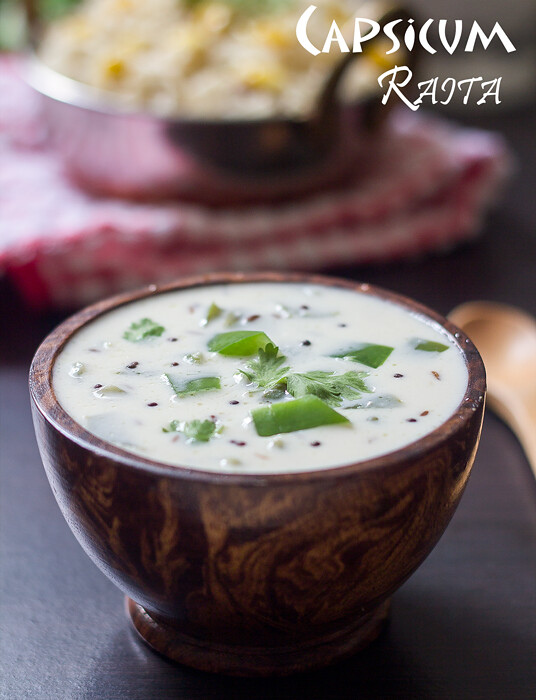
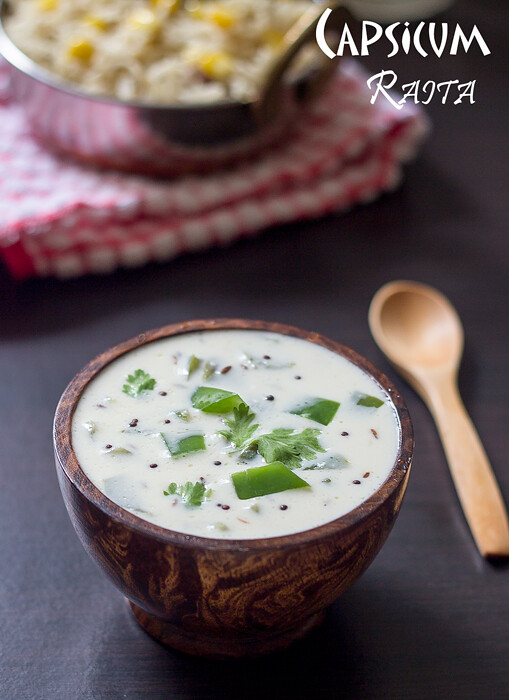
capsicum raita

Capsicum Raita

Preparation time: 5 min | Cook Time: 6 min | Serves: 3
Recipe Category: Side dish | Recipe Cuisine: North Indian

Ingredients 
Capsicum - 1/2
Yogurt / curd - 1 cup
Oil - 1 tsp
Mustard seeds - a pinch
Jeera / Cumin seeds - 1/4 tsp
Salt - as per taste
Coriander leaves for garnishing


Method 
1. Beat the yogurt nicely and keep aside. Cut the capsicum into small pieces. In a pan, add oil and when it is hot, add the mustard seeds and cumin seeds. When the mustard seeds splutters, add the capsicum.
2. Fry the capsicum adding required salt for 4 to 5 min. Take care that, little crunchiness remains in the capsicum, else, it will be very soft. Transfer this to the yogurt and mix well. 

3. Garnish with coriander leaves and serve.
bell pepper raita


Crunchy capsicum raita is ready to be served with any pulao or biryani.

Notes:
1. You can sprinkle some cumin powder or chat masala for more taste.
2. Take care to make the bell peppers to be crunchier while frying.

Tags: , , , , , , ,

Monday, September 29, 2014

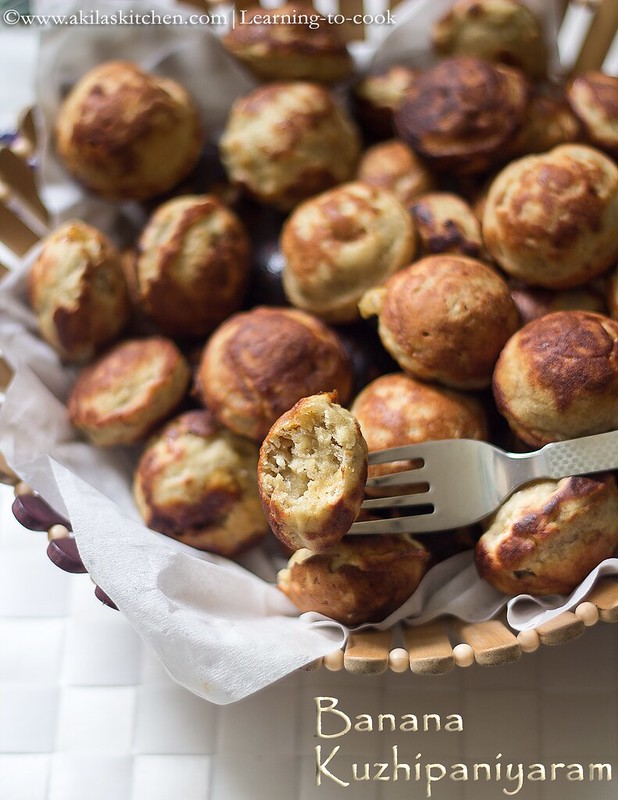
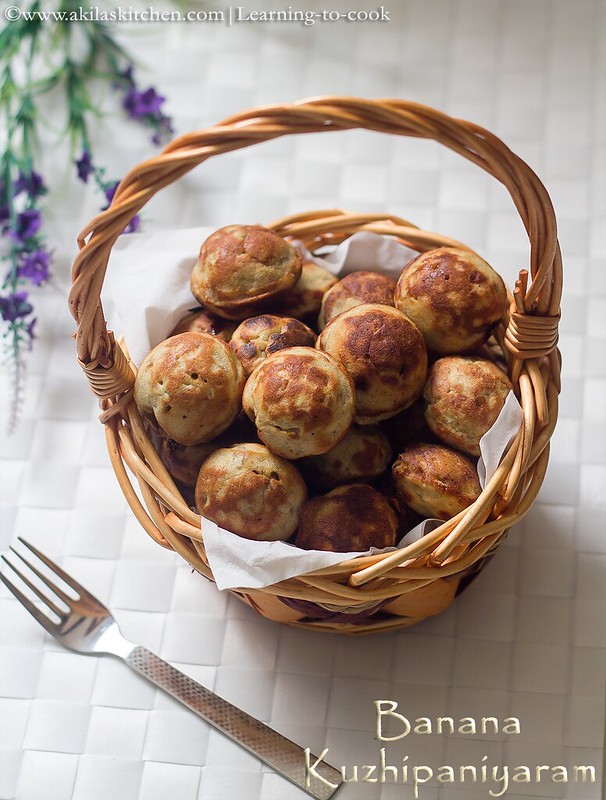
Banana kuzhipaniyaram | Easy Break fast recipes | Paniyaram Recipes | South Indian Break fast | Kuzhipaniyaram recipe


sweet paniyaram

After a months gap, I am back again with the easy and healthy Banana kuzhipaniyaram recipe. This I tried on my own, with some trial and error methods and with the left over banana. First 2 times, it was bit chewy as the water was more and does not come out correctly.. Third time, with my mom's help, tried and it came out good. Every one enjoyed it. Do try with banana kuzhipaniyaram and let me know how it turned out for you.

Other healthy breakfast recipes you can check are given below for your easy view


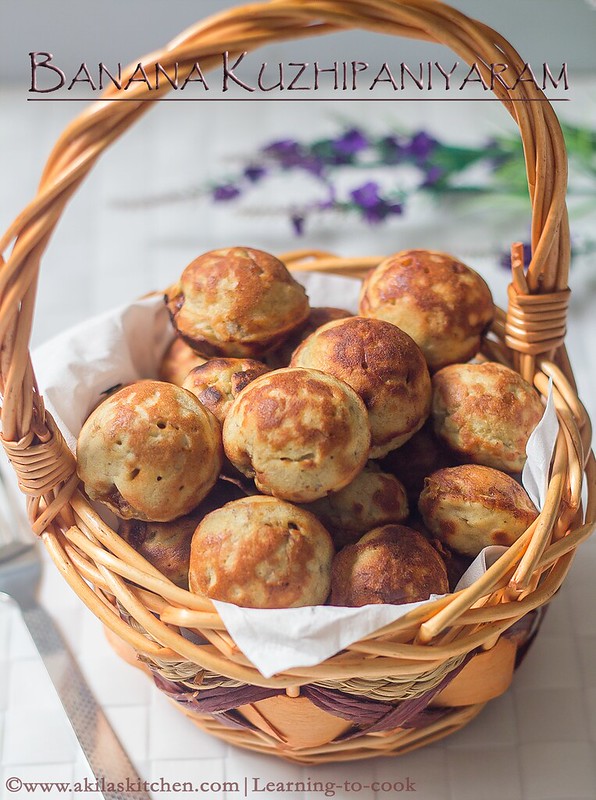
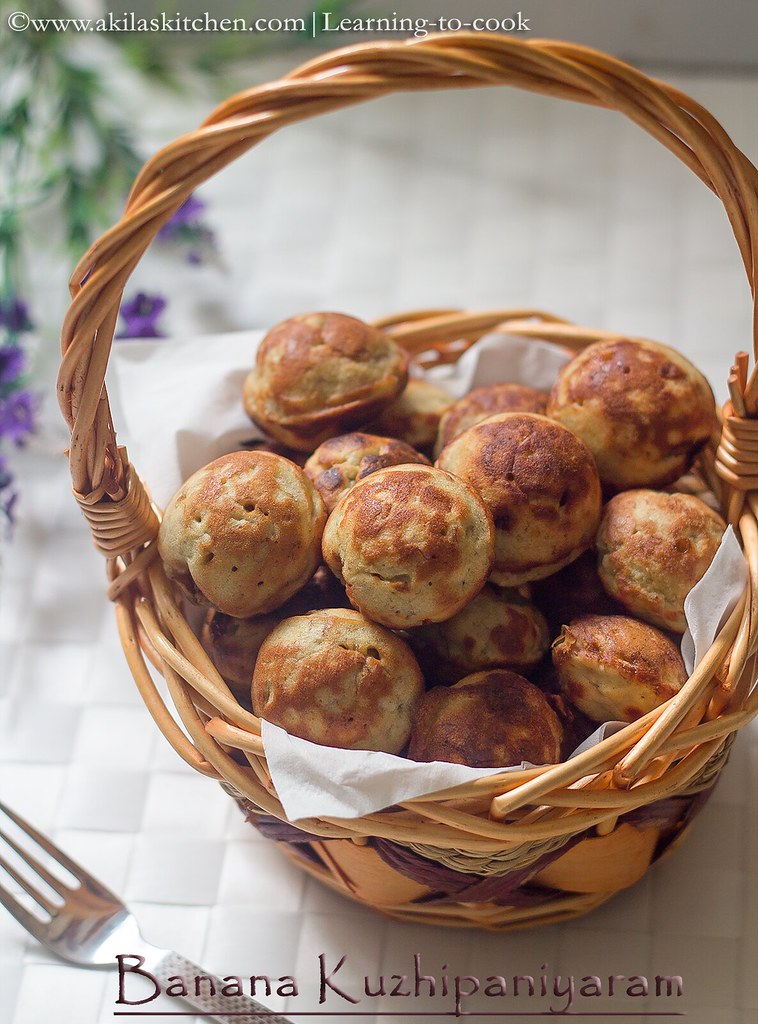
banana kuzhipaniyaram

Banana Kuzhipaniyaram Recipe

Preparation time: 10 min | Cook Time: 12 min (for 2 batches) | Serves: 4
Recipe Category: Breakfast | Recipe Cuisine: South Indian

Ingredients
Ripe Banana - 3 (medium sized)
Wheat flour - 1 cup
All purpose flour - 1 cup
Rice flour - 3 tbp
Grated Coconut - 2 tbsp
Jaggery - 3/4 cup
Cardamom powder - a pinch
Salt - as per taste
Baking soda - 2 pinch
Water - 1.25 cup ( + or - )
Oil - for greasing

Method
1. Smash the ripe banana with a spatula and add all the ingredients mentioned above except oil and water. Add water slowly and mix slowly.


2. Make a thick paste. (Bit thicker than idli batter). Grease the paniyaram pan moulds, with the oil and heat it. Add the batter using a tbsp to the pan, cover and cook in medium flame.


3. After 3 min, check one paniyaram, whether you can turn it. If you can turn, turn, each paniyarams, upside down with the help of a stick or a spoon.


4.  Again cook it for another 2 - 3 min on that side also. If needed, you can add drop of oil to the moulds. Check whether they are cooked, by inserting a toothpick, and it comes out clean. Remove the Paniyarams from the moulds and serve it hot.


5. Since it is sweet paniyaram, we had it just like that without any side dish.

sweet kuzhipaniyaram recipe

sweet paniyaram recipe


Yummy yummy banana kuzhipaniyaram is ready to be eaten


Notes:
1. You can do this paniyaram with solely wheat flour or the apf itself. 
2. Add the jaggery according to the sweetness of the banana. If you want you can replace palm jaggery also.
3. Add water, little by little, until the batter comes to thick consistency.

Tags: , , , , , , , , , , , , ,

Related Posts with Thumbnails

My Wonderful Followers

Ads

Add to the circles

Learning-to-cook   © 2008-2015. Template Recipes by Emporium Digital

TOP  

//